The Jasmine Stitch is a really gorgeous stitch that resembles jasmine flowers. No matter what yarn or hook size, the stitch still manages to look so elegant and divine! It might come off as daunting and like it uses a whole lot of complicated moves. However, if you’re familiar with the puff stitch, then the battle is half won?
I heard about this stitch from a friend on Instagram. She recommended I make a square from it to add to the Hisi Sensory Toy that I was making my niece. And I’m glad I did! Apart from it’s Gorgeous appearance, the Jasmine Stitch also has an awesome squishy texture.
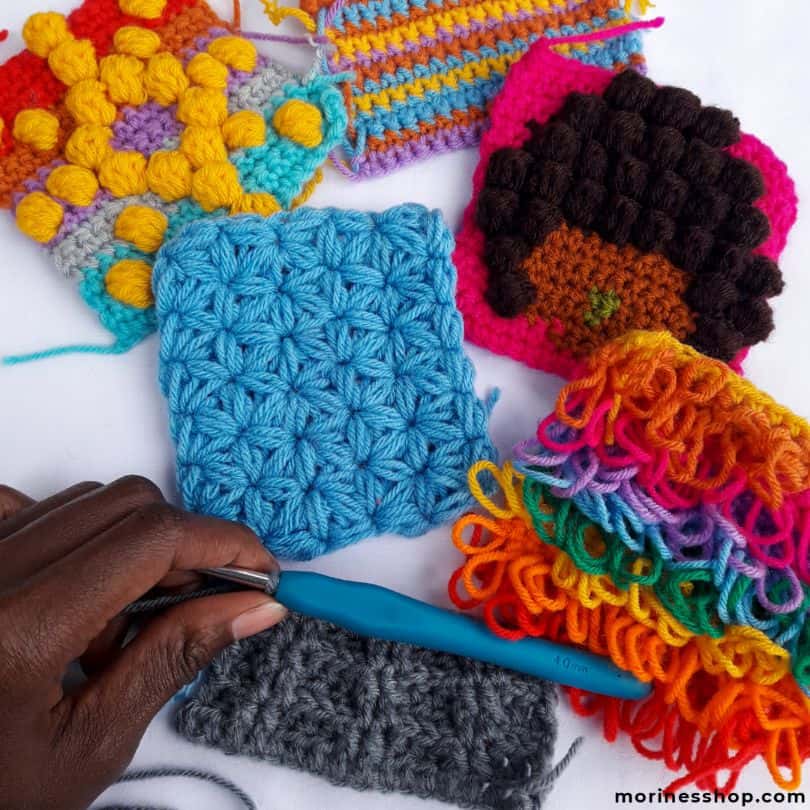
This pattern will walk you through the basics of the Jasmine Stitch to enable you create your own projects.
Pin It Now, Try It Later!

Jasmine Stitch Tutorial.
Materials:
For this tutorial, I used:
- 4mm crochet hook
- worsted weight yarn
Stitches & Terms Used:
- ch- chain
- st(s)- stitches
- yo- yarn over
Pattern Notes:
- As mentioned above, the stitch requires knowledge of the puff stitch. Having said that, the tutorial does show you how to work this stitch as well.
- The trick is not too make the loops too tight. This allows you to pull the yarn through without the hook getting stuck.
- So as not to overwhelm you with new stitch names, I’ve highlighted and explained everything as we go along.
- I recommended reading through the tutorial before starting your work.
Instructions:
Foundation puff stitch (fps)
To work the Jasmine Stitch, first we need to create a foundation row of puff stitches. This is where the foundation puff stitch (fps) comes in. In additin, this stitch will also be used to create the turning stitch every time you start a new row (more on that below).
To work the first fps, start by making a slip knot and a ch1. You will work your first st by inserting the hook into the ch1.
Without removing your hook from the ch, pull the hook upward (about 2 cm) to lengthen the loop a little. (yo, insert hook, yo, pull up a loop) twice- 5 loops on hook.


Yo and take hold of the yarn you just wound over and, while holding this (let’s call it the side loop), pull through all 5 loops on your hook.


Insert hook under the side loop, yo and pull up a loop (2 loops on hook). Let go of the side loop, yo and pull through 2 loops to seal the st. First fps created.


You will start working the next one into the last part of the st you just made (which is like a sc) at the end of the puff. This part of the st is also is where you will insert the hook again when you get to the second row. Similarly, it’s important to note that all stitches in the jasmine stitch are worked into the sc after the puff.
Repeat these steps for each foundation puff stitch, to create your foundation row. The number of stitches will depend on te pattern you’re working on.


Once you’re done working your foundation row, lets get onto the Jasmine Stitch.
Jasmine Stitch
The Jasmine Stitch itself is created when you work 3 puffs worked over 3 sts.
As with other common stitches like single crochet or double crochet, where we create a turning chain(s) after the end of a row, we need to also create a turning stitch for the jasmine stitch as well. This is where the Turning Puff Stitch (tps) comes in. Apart from acting like a turning chain, it also creates a place to make the first st.
So, Start your row by creating another fps as before which will act as the tps.


Next, pulling your starting loop out to about 2 cm, (yo, insert hook into top of the last st, yo, pull up a loop) twice- 5 loops on hook,
(yo, insert hook into the base of the same st, yo, pull up a loop) twice- 9 loops on hook,
(yo, insert hook into st between next 2 puffs, yo, pull up a loop) twice- 13 loops on hook.

As before, yo and grab the side loop, just like you did with the foundation puff & carefully pull through all 13 loops.
Insert hook into the piece of yarn you are holding, yo, pull up a loop (2 loops on hook, let go of the yarn, yo, pull through 2 loops to complete your first jasmine st!

To make the second, and subsequent sts, repeat these steps without the fps and starting by inserting your hook into the top of the stitch you just made.

Continue working the pattern to the end of your row (check your stitch count matches that of your foundation row!).

At the end of the row, turn, create a new tps and continue to work the pattern.


You’ve made it!
And there you have it! As with every new stitch, you need to work on the tension and fluency of your moves to make your work nice and even.
