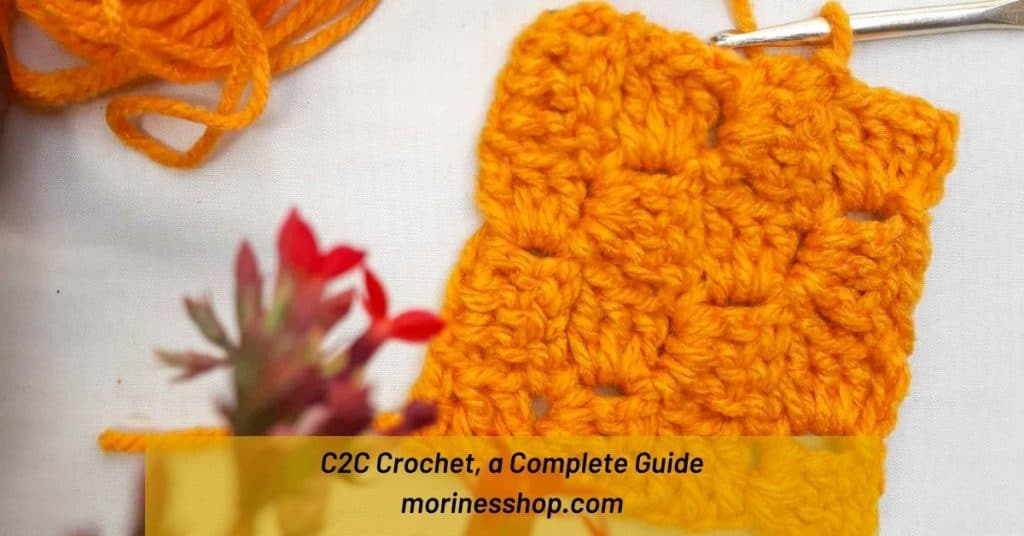
C2C crochet (aka corner to corner crochet) is a unique technique where you crochet in diagonal rows instead of horizontal ones. In other words, you crochet from one corner to another. The finished product is textured with a wonderful pixelated look that adds a unique touch to your makes.
Although a unique techniques that might appear daunting, c2c crochet builds on basic crochet techniques of chains, slip stitches and double crochets. This makes it very easy to learn once you know the basics.
Corner to corner crochet for beginners.
In this blog post, you will learn how to:
- c2c crochet- increase and decrease
- c2c crochet regular shapes- a square, rectangle and a triangle
- read a c2c graph
- work colour changes for c2c crochet
This is going to be another meaty blog post so be sure to Pin it in your crochet tutorials board for later or bookmark it for easier access.

Materials:
For this tutorial, I used:
- 5 mm crochet hook
- Aran yarn
- scissors
- darning needle
Stitches & terms used:
- ch(s)= chains
- st(s)= stitches
- sl st= slip stitch
- sp= space
- dc= double crochet
- dc2tog= double crochet two together
- dc3 tog= double crochet three together
Unsure of the differences between UK and US terms? In ‘My Handy Crochet Guide’ eBook I help you with all of these terms and you can always have them to hand! You will also get exclusive access to this free eBook by signing up here.
1. How to c2c crochet
As mentioned above, c2c is worked in diagonal rows. Each row is worked in blocks or tiles, which are made up of 4 sts (a ch-3 & 3 dcs).
a.) How to c2c increase
Row 1: Ch 6. Dc in 4th ch from your hook and in the next 2 ch. (First tile made)
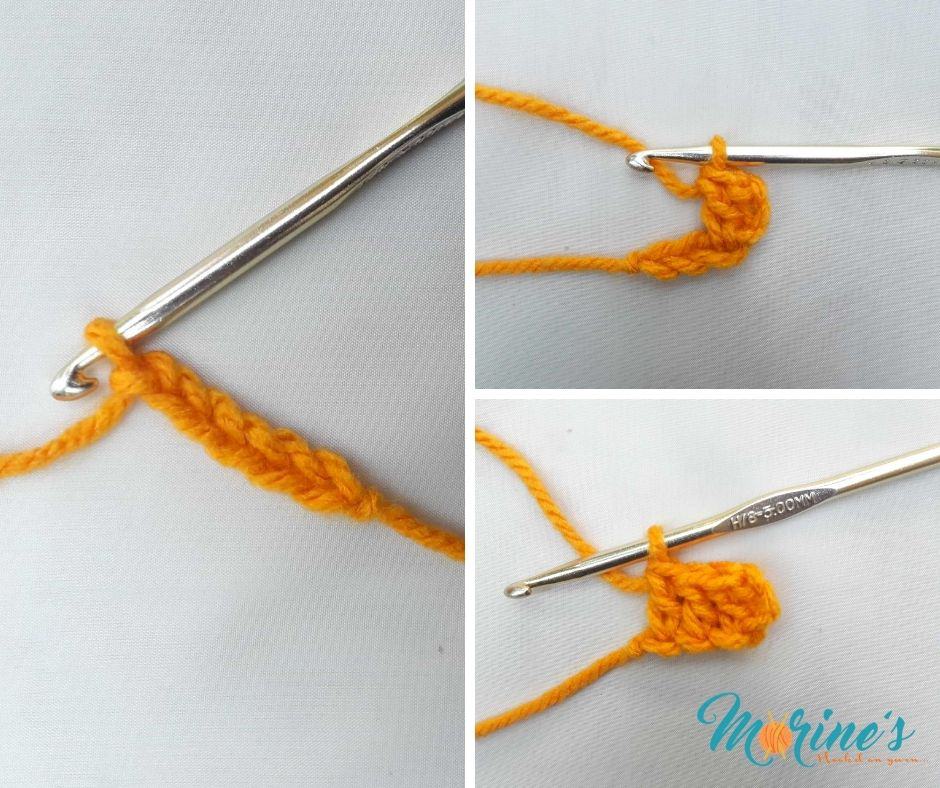
Row 2: Ch 6. Dc in 4th ch from your hook and next 2 ch. Sl st into the ch-3 turning chain from the previous row. Ch 3. 3 dc in ch-3 turning ch

From here onward, the pattern is basically a repeat of row 2.

You will notice that your square keeps increasing in size. This is not only how to c2c crochet, but also how to c2c crochet increase, since you have more tiles in each subsequent row.
b.) How to c2c decrease
To work a c2c decrease, intead of a (ch 3 & 3 dc), you will crochet sl sts instead. In other words, the c2c decrease is eliminating one tile from each row you’re crocheting.
Important to note is that the is worked once you’ve reached the widest/tallest point in your crochet piece.
How you decrease is the same but the rate at which you decrease will depend on whether you are working on a square or a rectange. More on that in the next sections. To decrease:
- Instead of a Ch 3, sl st in each dc & into the turning ch as shown in the arrows below.
- Ch 3. 3 dc in ch-3 turning ch of previous row.

Continue in this way, working sl sts at the beginning of a new row. Remember do not ch 6 at the end of the row.

2. How to c2c crochet regular shapes
a.) c2c crochet a square
For c2c crochet squares:
- You’ll increase by one tile per diagonal row until your desired dimensions are reached.

- From there, you’ll begin decreasing one tile per diagonal row as described in the c2c decrease section.

b.) c2c crochet a rectangle
C2c crochet rectangles are different from squares in that you will be increasing on one side of the row and decreasing on the other side so as to keep the total number of tiles per row the same.

When the c2c rectangle reaches your desired measurements, you will then decrease as shown in the c2c decrease section.

c.) c2c crochet a triangle
A c2c triangle is worked the same way as a square but they’ll be no decreasing. The number of tiles on all 3 sides will be the same.

To get a straight edge on your triangle:
- Sl st in each dc & into the turning ch as shown below.
- (sc, hdc & dc) into ch-3 turning ch of previous row.

- Sl st into the turning ch of the previous row.
- Work step 2 & 3 until you reach the end of your row. You can either add edging or fasten off.

Summary:
- Every time you Ch 6, you are increasing.
- Every time you sl st across the 3 sts & in the ch-3 sp, you are decreasing.
- Any c2c crochet project will always begin with increase rows.
Did you enjoy learning how to corner to corner crochet? I’d love to see your creations using this tutorial! Please share your projects with me on Instagram.
More crochet tips:
 How to sew a zipper to a crochet bag and attach lining - Learn how to sew a zipper to a crochet bag and attach lining in this step by step tutorial with clear photos instructions suitable for beginners.
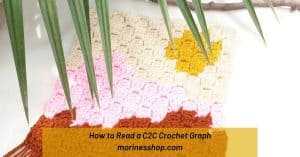 How to Read a Graph in a C2C Crochet Pattern - A detailed guide on how to read a graph in a c2c crochet pattern. This tutorial also includes a gorgeous free crochet wall hanging pattern.
 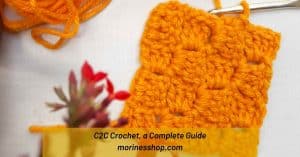 C2C crochet (corner to corner crochet), a complete guide - Learn all about c2c crochet (corner to corner) in this tutorial. From squares, triangles, rectangles, decrease, increase and colour changes!
 Crochet Size Charts Crocheters Should Have, with free eBook - Crochet size charts are a handy thing to have. We'll cover blanket sizing, abbreviations, US/UK conversions and more in this quick guide
  Crochet Star Stitch- a free crochet tutorial - A complete guide to the crochet star stitch. Includes a detailed step-by-step tutorial along with tips, common terms and FAQs
