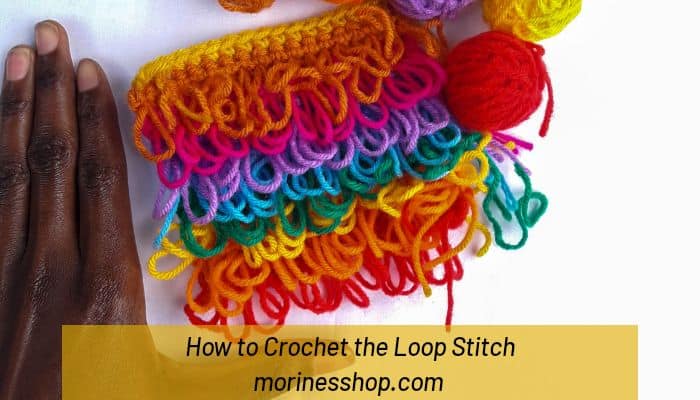
The Crochet Loop Stitch is a fun way to add texture to your crochet and craft projects. I’ve always been obsessed with texture, so when I started working on the Hisi Sensory Toy, I knew I had to incorporate this loopiness.

You can only work the loop stitch on one side, so I’m working a single crochet row in between. You can use a slip stitch row if you want to make the loop stitches denser. However, I would recommend being comfortable with the single crochet row between before trying out the slip stitch as it’s a bit tighter to work with.
Loop stitches are always worked on the wrong side of your work. They take a bit of practice to get right but once you do, you’ll be hooked (or should I say looped ?)
Save it Now, Make it Later!

Loop Stitch Tutorial
Materials:
For this tutorial, I used:
- 4mm crochet hook
- worsted weight yarn
Stitches & Terms Used:
- sc- single crochet
- ch- chain
- st(s)- stitches
- yo- yarn over
Instructions.
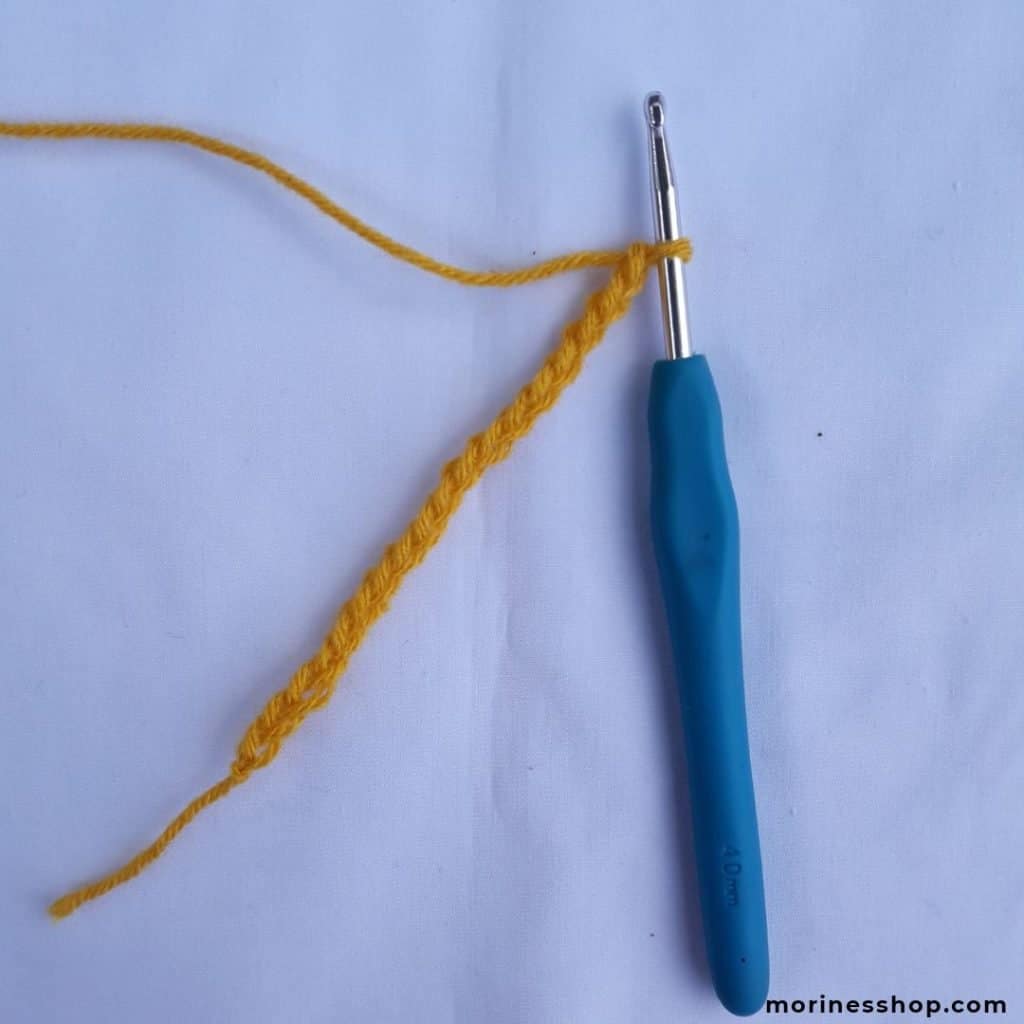
Ch 18. Starting from the 2nd ch in your hook, sc across.

Ch 1, turn. We’ll be working loop sts across this entire row. First, insert your hook into the first st.

Pin for later!

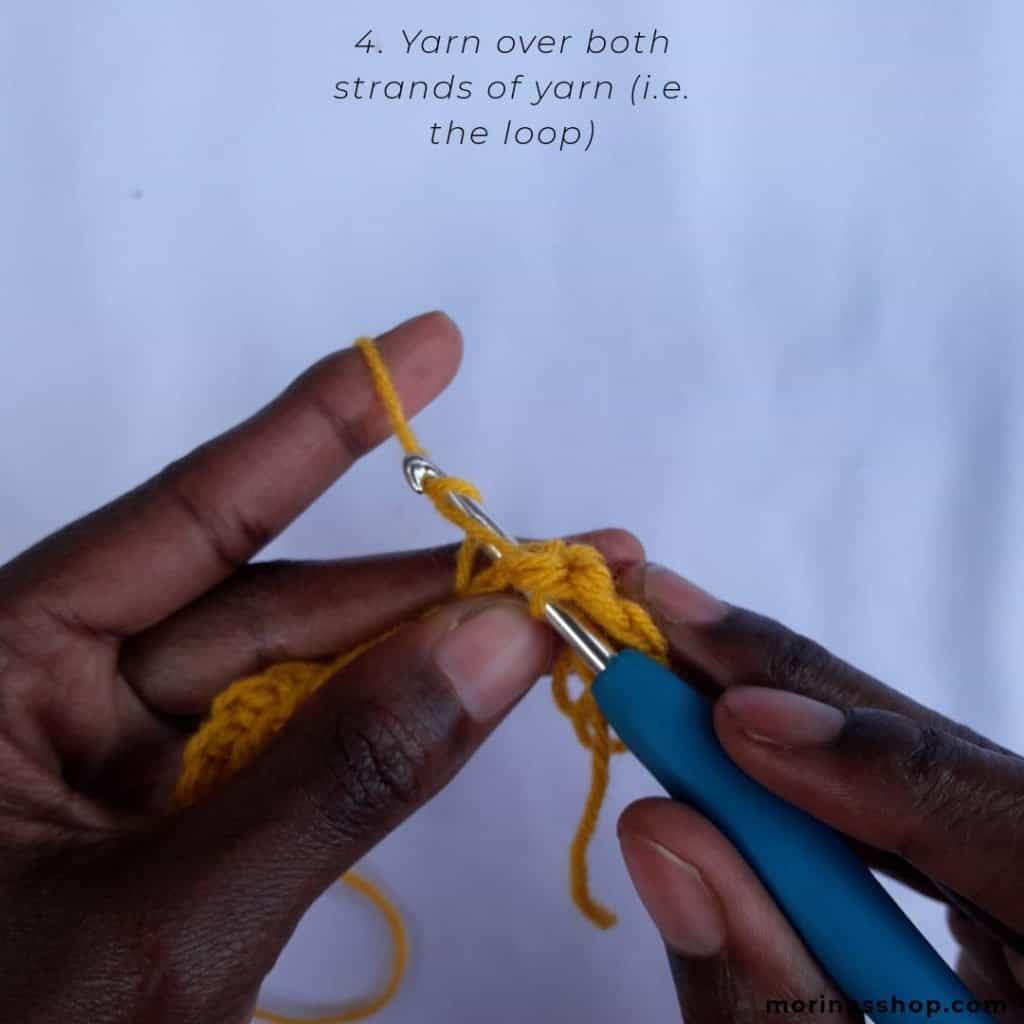
Wrap yarn around your finger, as shown below, to create a loop.

Yarn over both strands of the loop.
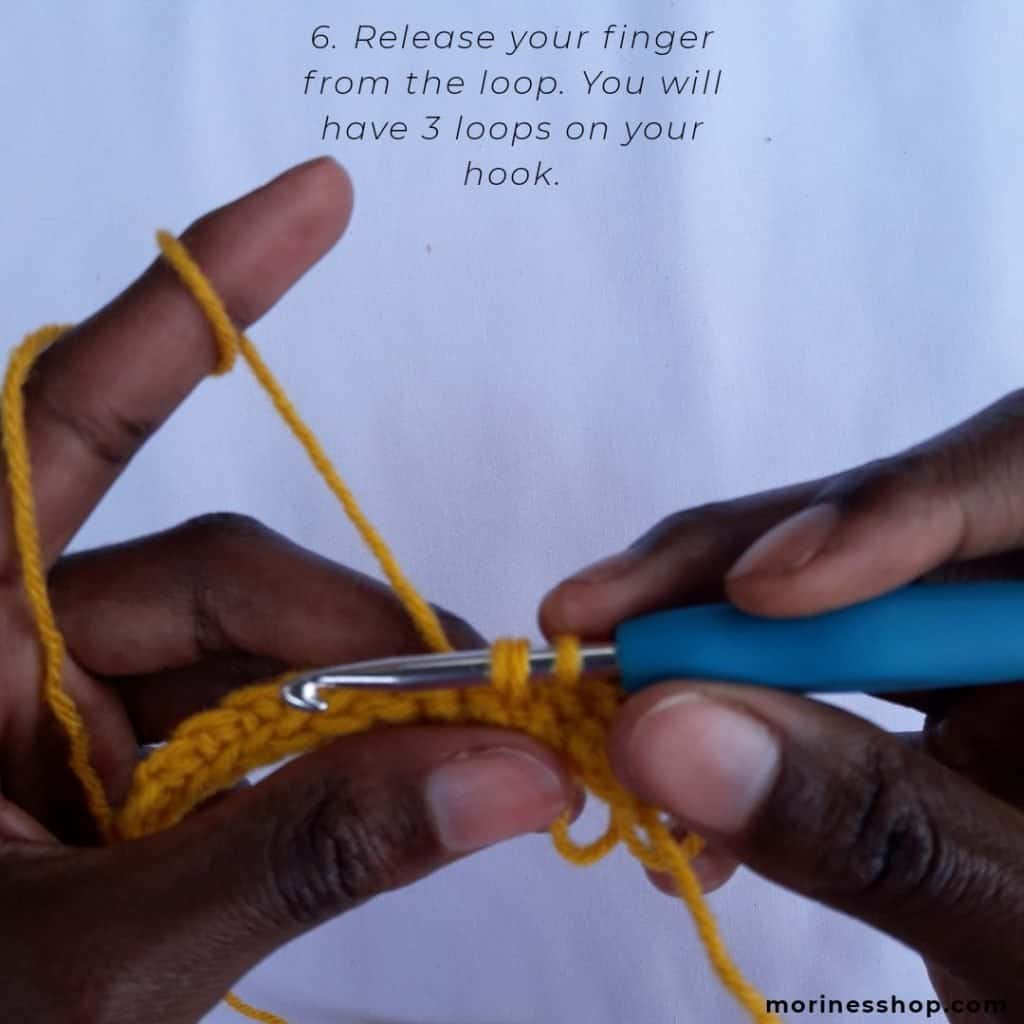
Pull both strands through the stitch. You will have 3 loops on hook. Release your finger from the loop.

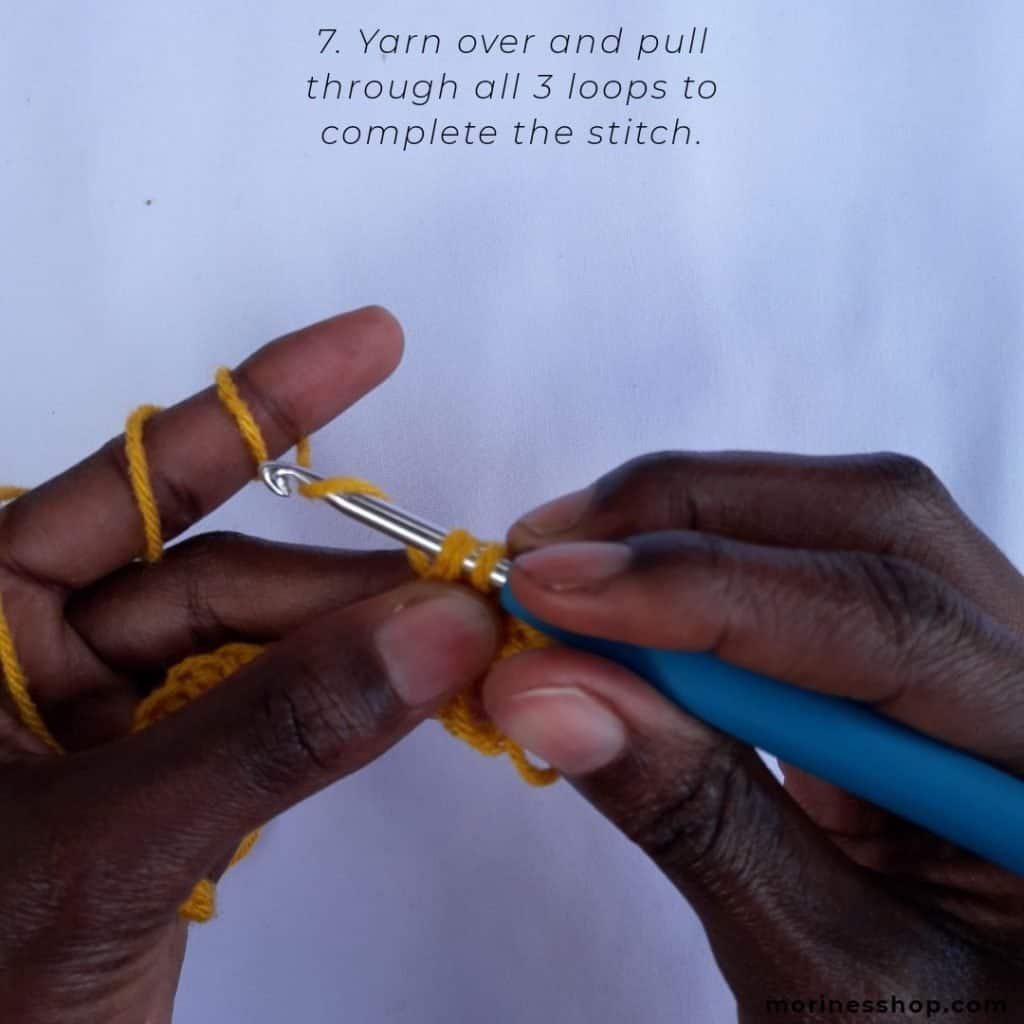
Yo and pull through all 3 loops to complete the st.

Repeat these steps throughout the entire row. The next row will be worked in single crochet. In other words, you’ll work a repeat of row 1-2 throughout.
Sharing is caring!

Thank you for the best directions and pics!!! I tried a number of other posts on how to do the loop stitch and just couldn’t figure it out. I’m making a unicorn for my niece for her first birthday. Thank you soooo much!!!
You’re welcome! I’m so glad the tutorial helped you out. How did the birthday girl like her unicorn?