A period pouch is an essential item for every menstruator. What is a period pouch you ask? It is simply a small bag that contains items that help you manage during your periods. It should be fairly small, allowing it to fit into your normal everyday bag.

Make your period pouch YOU!
This is perhaps the most important part in assembling your period pouch. Fill it with products that work for you and your body and remember to keep it handy. What I put and I recommend you to put in a period pouch are:
- Pads, tampons or panty liners- it is a period pouch after all
- Wipes and/or tissue- for cleaning your hands and ensuring freshness as well
- Pain killers- for the aches and pains that might come with periods
- Cash- in case you need to buy anything for example an extra pair of underwear
- Pick-me-ups- this can be anything from your favourite candy, gum or even scent
Your period pouch should always remain stocked and ready for use.

Crochet Period Pouch pattern.
First off, if you are unfamiliar with the star stitch, please go through my step-by-step tutorial on how to crochet the star stitch, and after that you can get to making the Crochet Period Pouch. This pouch is one long rectangular piece made in rows. Upon completion, it is the folded up to form the pouch.
Skill level: Advanced Crochet Beginner with beginner skills in sewing.
Materials:
- Approximately 70 yards DK weight yarn (I used Stylecraft Special DK)
- 3.5 mm crochet hook
- Approximately 18″ by 11″ cotton fabric for lining
- darning needle
- scissors
- clothes iron
- press button
- thread
- sewing needle
- small bead for strap (optional)
Stitches and terms used:
- ch= chain
- sc= single crochet
- hdc= half double crochet
- Star stitch
Finished measurements:
This Crochet Period Pouch measures 15 by 5 inches when laid open and 6 by 5 inches when closed.
Instructions:
With your 3.5 mm crochet hook and DK yarn, Ch 27
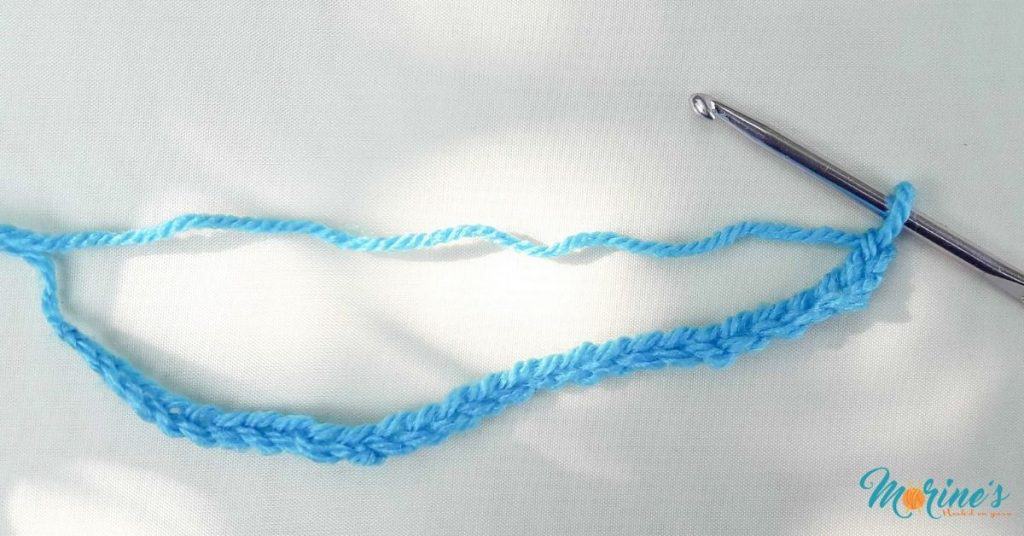
Row 1: Starting from the second ch from your hook, star stitch until the end of the row. Hdc in last st. (11 star stitches & 1 hdc)

Row 2: Turn. Ch 2 (counts as 1 hdc). ( 2hdc in star eye ) rpt across. 1 hdc on top of turning ch. (24 hdc)
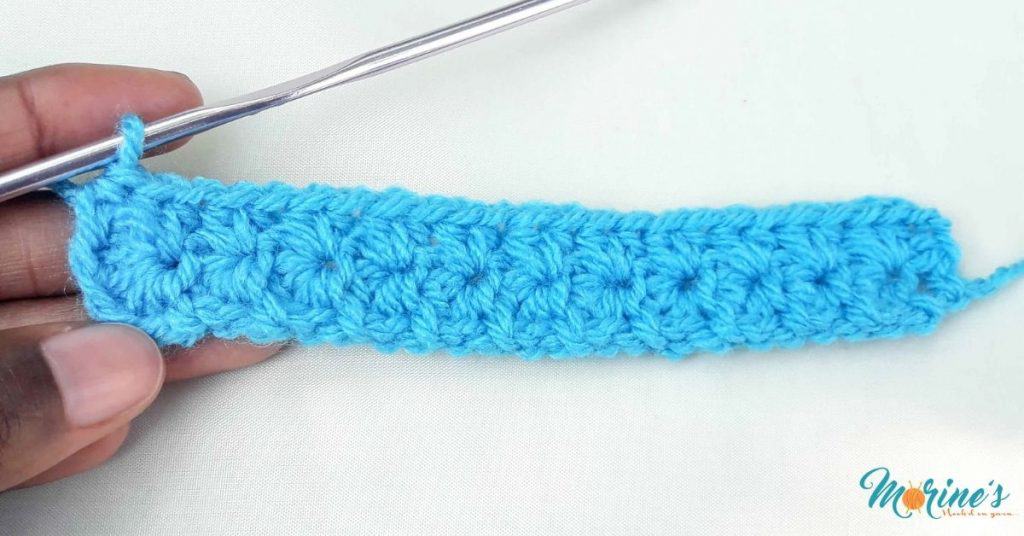
Row 3: Turn. Ch 3, star stitch until the end of the row. Hdc in last st. (11 star stitches & 1 hdc)
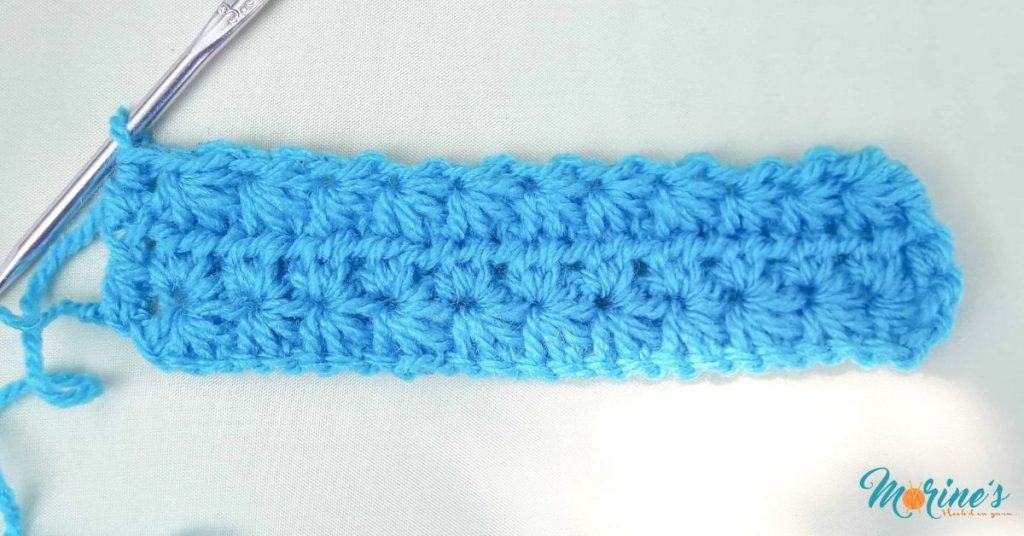
Row 4-39: Rpt row 2-3 18 times
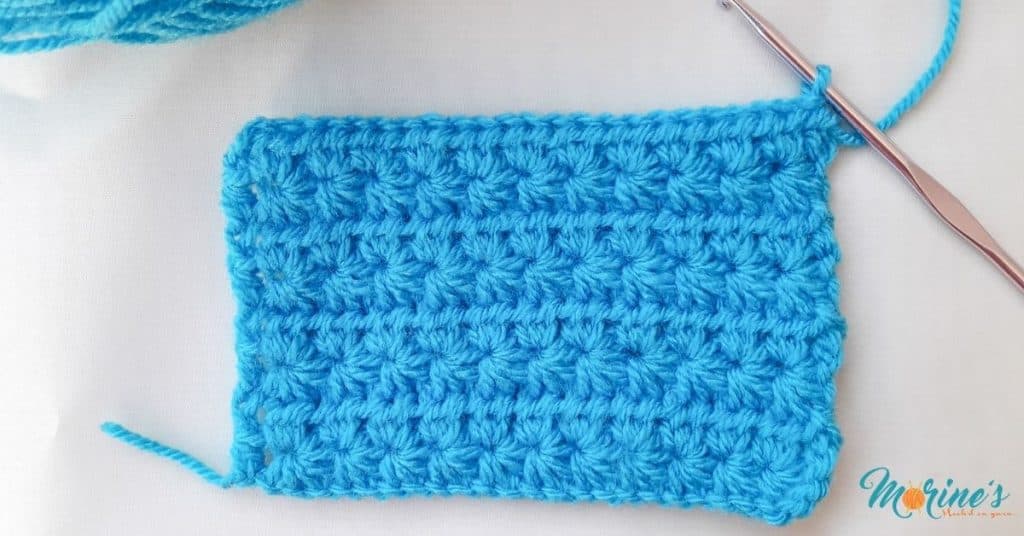
Row 40: Turn. Ch 2 (counts as 1 hdc). 1 hdc in first star eye, (2 hdc in the next star eye) 9 times. 1 hdc in last star eye, 1 hdc on top of turning ch. (22 hdc)
Row 41: Turn. Ch 3, star stitch until the end of the row. Hdc in last st. (10 star stitches & 1 hdc)

Row 42: Turn. Ch 2 (counts as 1 hdc). 1 hdc in first star eye, (2 hdc in the next star eye) 7 times. 1 hdc in last star eye, 1 hdc on top of turning ch. (20 hdc)
Row 43: Turn. Ch 3, star stitch until the end of the row. Hdc in last st. (9 star stitches & 1 hdc)
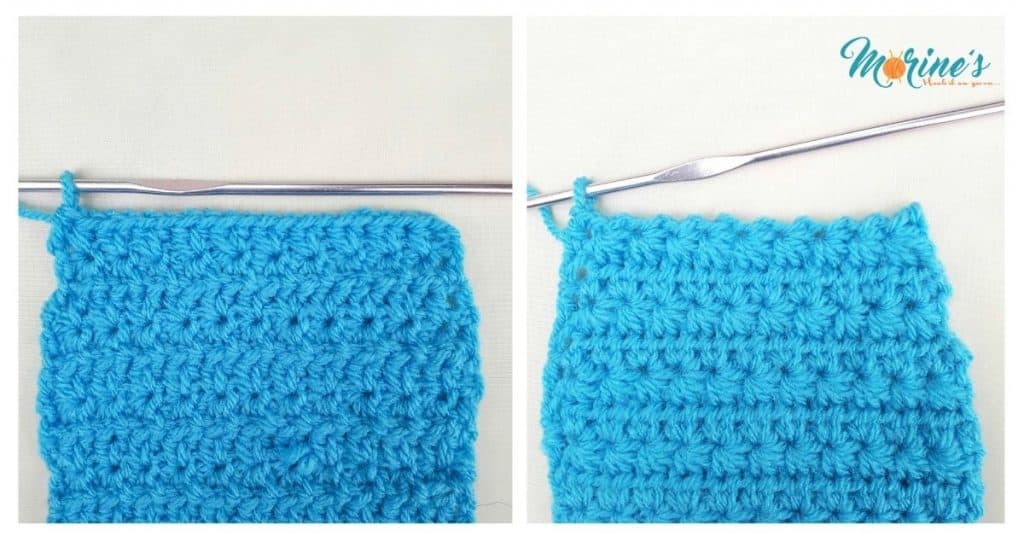
Edging row.
Row 44: Ch 1. Do not turn. Instead, tilt your work 90 degrees. Starting in the post of the last last hdc of row 43, 1 sc. (2 sc in next hdc post, sc in next hdc post) 20 times. 2 sc in next hdc post. 4 sc in last post of the edge. sc in 2nd sc of bottom edge. work 1 sc in each across. Sc evening along the second edge. 3sc in corner. sc in each st across to end. 2 sc in space whaere you worked your first sc. Fastern off. Weave in ends.
Sew in the press button on the right side in Row 17.
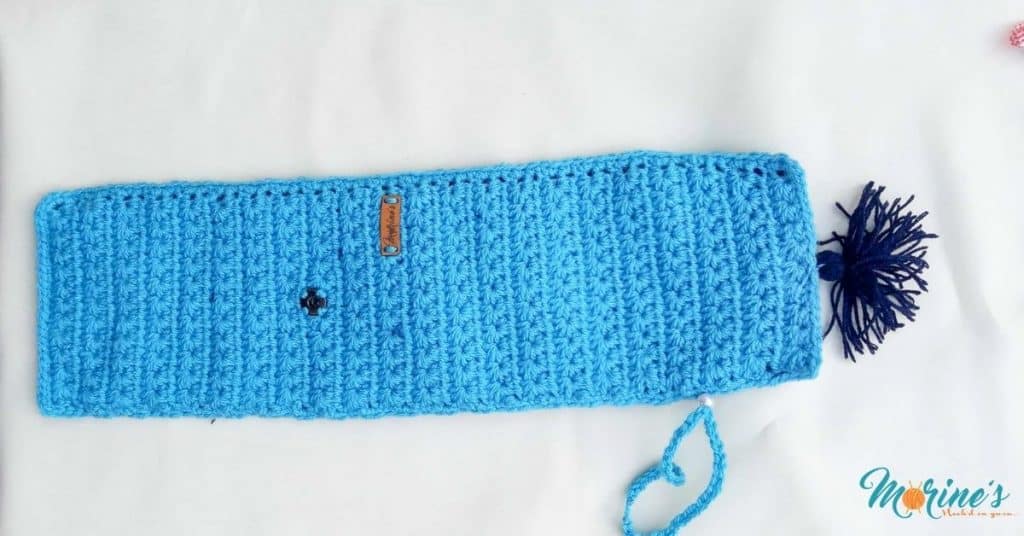
Fabric lining
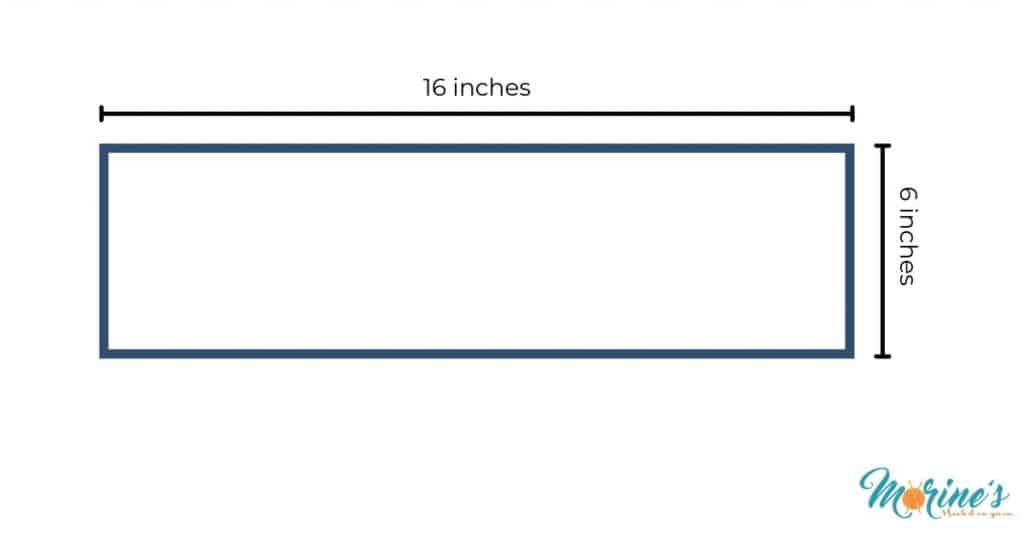
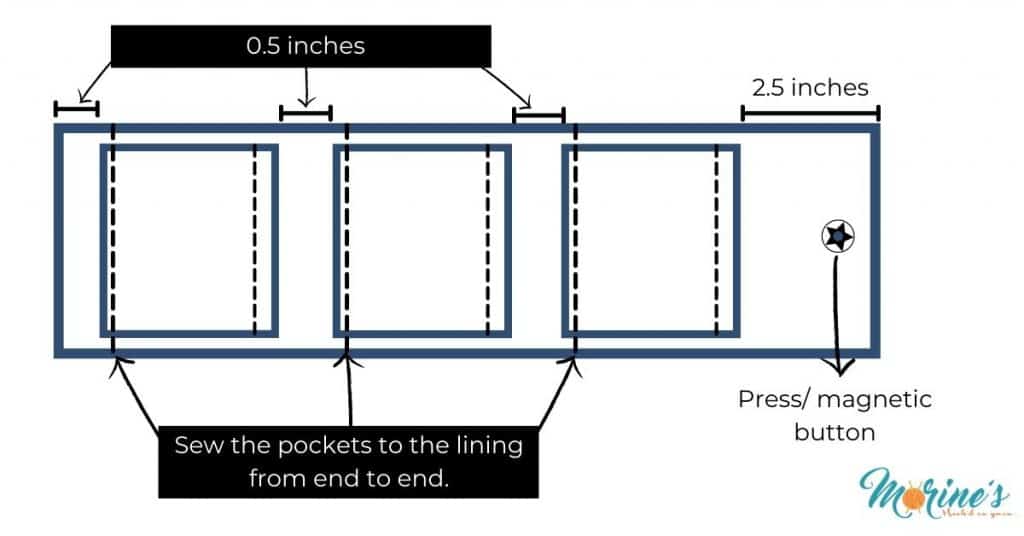
The fabric lining of this pouch is simple and easy to work up. However, you have to make sure to cut out the right size. To do that, first off, measure and cut out 16″ by 6″ rectangle on your piece of fabric lining. This measurements include a 1/2″ inch seam allowance all round.
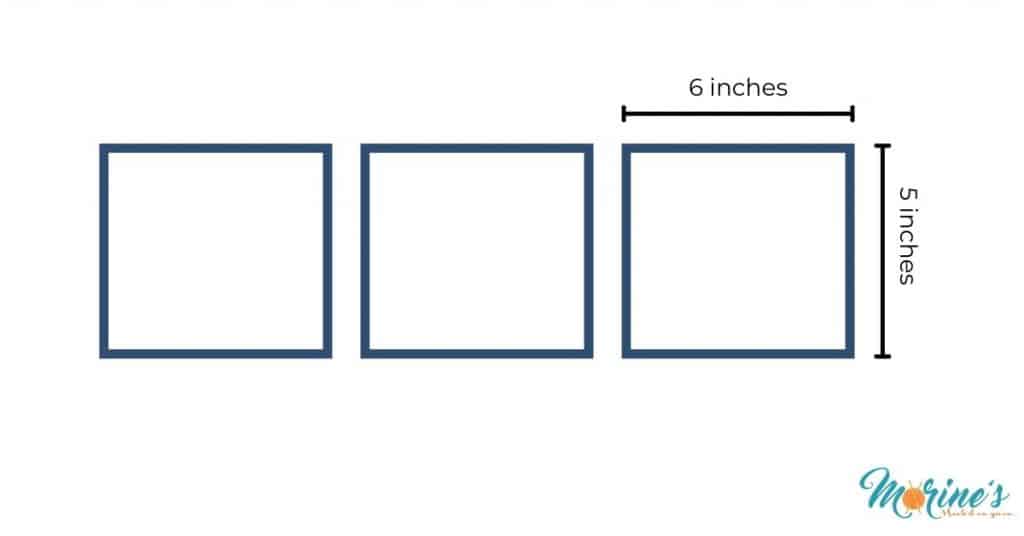
Secondly, cut out 3 identical rectangles measuring 6 inches by 5 inches. These are for the pockets.
Make a 1/2″ inch fold on both the top and bottom of the pockets (the top and bottom are the sides measuring 6 inches) and press with iron. Sew only the top fold closed.

Place the pockets on the lining as shown below and sew where indicated, being careful of the measurements. sew on the press button as well.
After you’ve finished sewing the pockets and the press button, fold the outside edges over approx. 1/2” and similar to before, press in place with an iron. Stitch the lining in place using the whip stitch. Tie off and trim any threads.
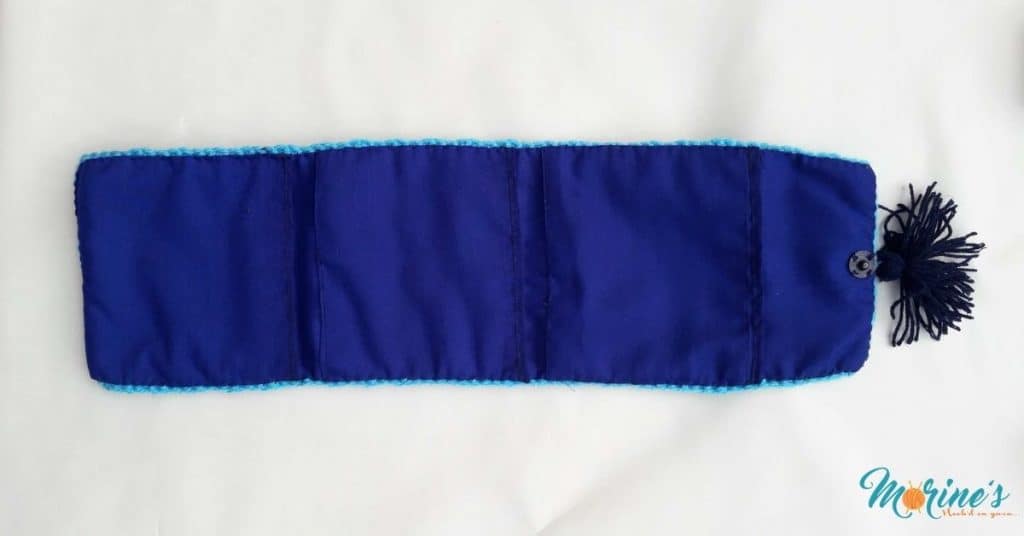
For a nice finishing touch, add some tassels in the center of the front closure and a small handle with a bead on the side. I used a ch 40 for mine.

Did you enjoy learning how to crochet period pouch? I’d love to see your creations! Please share your projects with me on Instagram. For more crochet patterns, please visit the crochet patterns section of the blog.

Other accessories patterns:
 Rainbow Cloud Preemie Crochet Hat Pattern - The Rainbow Cloud Hat is an easy crochet preemie hat pattern that comes in 3 newborn sizes for babies ranging from 1lbs to 8lbs. It's named for the reminder of God's love and faithfulness during stormy times.
 Crochet Savanna Square, tunisian crochet pattern - Enjoy making this texture-rich Savanna Square, a free Tunisian crochet square pattern. This pattern was designed as part of the 2022 Tunisian Crochet Blanket CAL hosted by Arunima of Knitter Knotter. It is inspired by the breathtaking African Savannas. It uses a combination of the Tunisian simple stitch together with the Tunisian front post double […]
 Crochet Christmas Tree Earrings Pattern - Learn how to make these chic crochet Christmas Tree Earrings perfect for the festive season, and especially as a last minute gift idea.
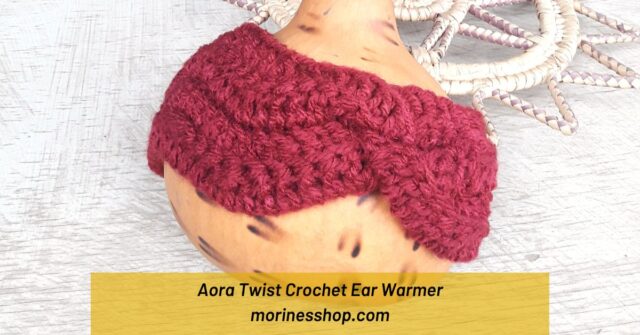 Aora Twist Crochet Ear Warmer, free pattern - The Aora Twist Crochet Ear Warmer pattern is beginner friendly with sizes from baby to adult. The pattern is unique, dense and works up fast.