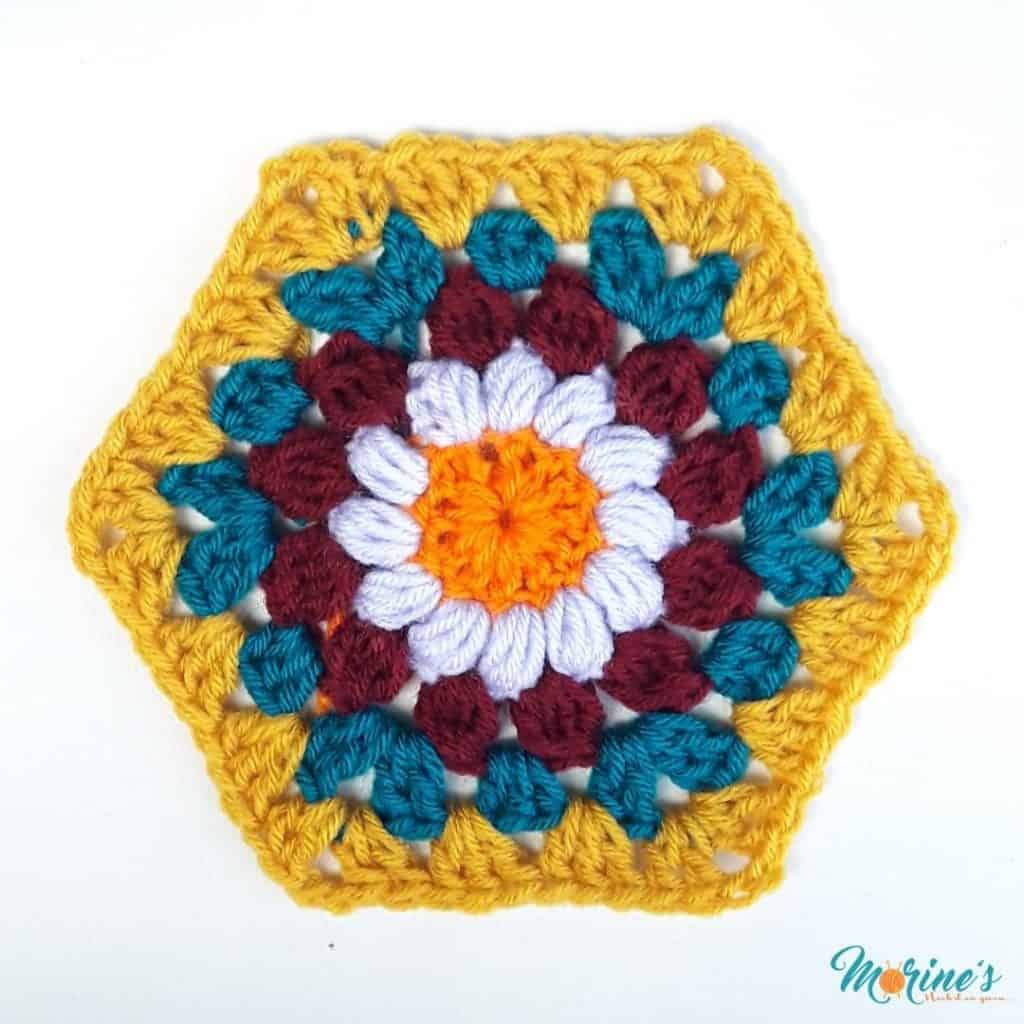
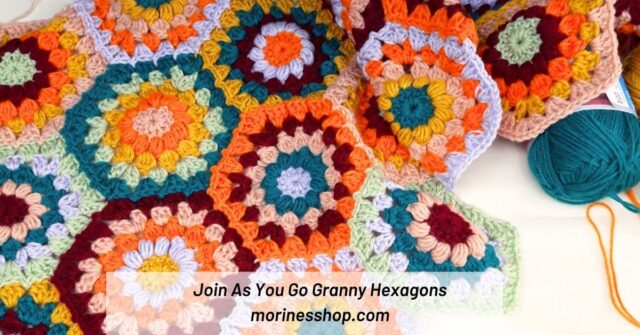
I’ve always had a love for crochet motifs. My recent obsession is with the sunburst pattern. I posted up a tutorial on the Sunburst Granny Square along with a pouch pattern and Sunburst Wristlet. I decided to try out a granny hexagon pattern with a sunburst center and I have to admit my love for it has slightly surprised my love for crochet solid hexagons.
Get the Sunburst Granny Hexagon Pattern
- Free pattern: Keep scrolling for the FREE tutorial
- Keep track of this project by adding it to your Ravelry Queue
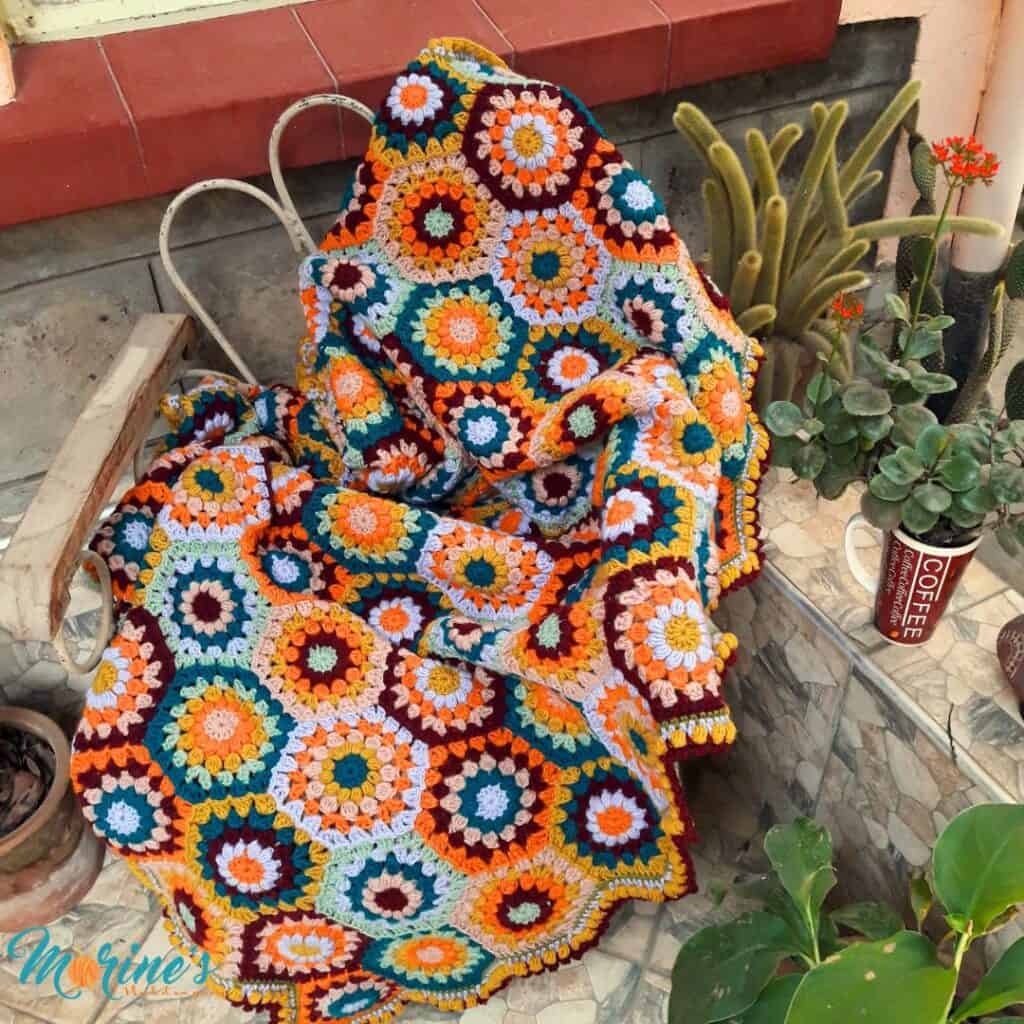
- Find the complete Flowers in Bloom Blanket pattern or purchase the ad-free PDF
- Sharing is Caring: Pin this post for later
More unique granny square patterns
Crochet Sunburst Granny Hexagon Pattern
Materials:
- Yarn. I used DK yarn in 5 colours for this tutorial. The personality of this crochet hexagon will change drastically depending on the chosen colour palette. Moreover, this piece is perfect for a stash busting project!
- Corresponding hook. I wanted my sunburst granny hexagon a bit loose so instead of a 4 mm crochet hook, I opted for a 5 mm hook instead.
- Scissors and a darning needle
Stitches and terms used:
- Ch= chain
- Sl st= slip stitch
- Hdc= half double crochet
- Dc= double crochet
- Tr= treble crochet
- “= inch(es)
- St(s)= stitch(es)
- Sp(s)= space(s)
- C1, C2, C3, C4 and C5= Colour 1, Colour 2, Colour 3, Colour 4 and Colour 5
Size: With the yarn and hook specified Sunburst Granny Hexagon measures approximately 5.5 inches.
Notes:
- Read through the pattern before starting your work just to be sure you don’t have any questions that might cause frustration while working on the project.
- This pattern is written in US terms. For a conversion into UK terms, get my free eBook with the conversion charts here.
- The pattern is worked in joined rounds.
- Repeating sections within the rounds are shown in round ( ) brackets followed by the number of times they are repeated e.g. (Dc in next st, 2 dc in next st) 11 times means the sequence in the brackets must be repeated a total of 11 times.
- Stitch totals are shown in square [ ] brackets at the end of each round e.g. [12] means you should have a total of 12 stitches at the end of the round.
- This pattern uses puff stitches. For a detailed tutorial on the same, visit my blog post on how to crochet puff stitches.
Instructions:
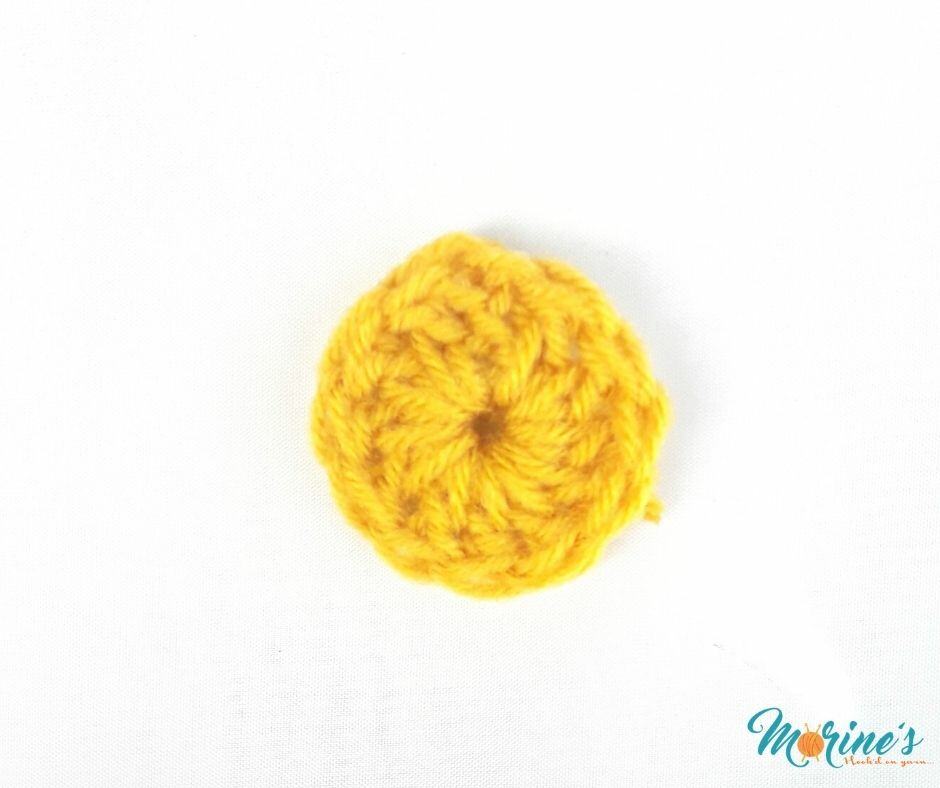
Using C1 and 5 mm crochet hook, ch 4. Join with a sl st to the first ch to form a ring.
Rnd 1: Ch 3 (counts as first dc), make 11 dc into the ring. Join with a sl st to the third ch of beg ch 3. Fasten off C1. [12]
Rnd 2: This round is is made with puff stitches. You can make them as small or big puffs. Here’s a tutorial on how to do it. I made my puff stitches medium sized.
Pin it now, make it later.
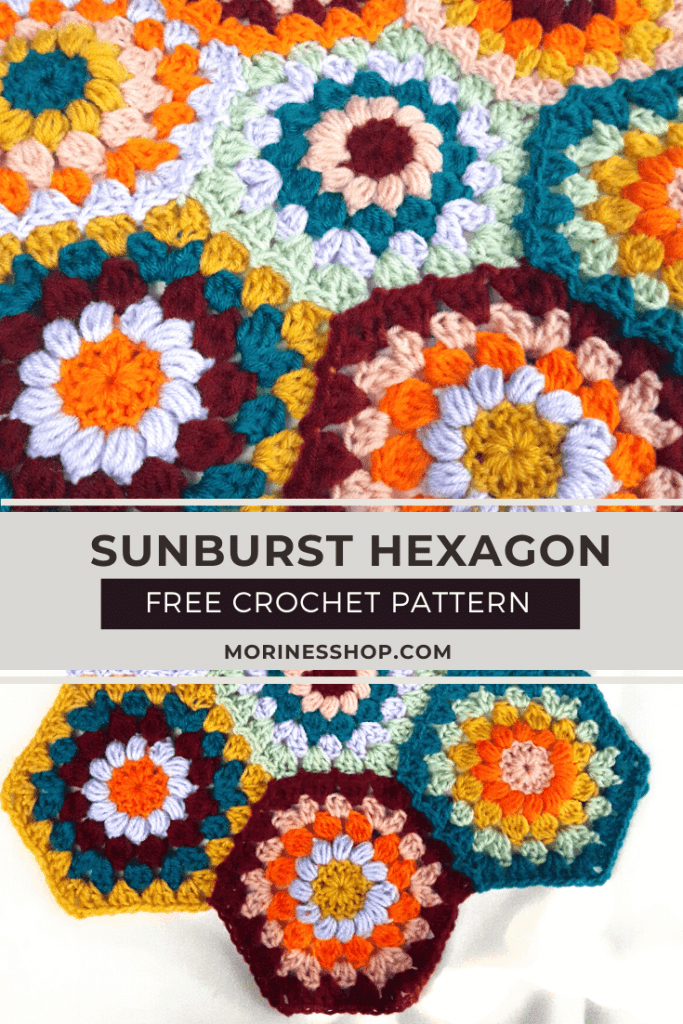
First, join C2 into any st from rnd 1 and ch 2. ((Yarn over, insert the hook into the stitch, yarn over, pull up a loop) 4 times. There will be 9 loops on the hook. Yarn over, and draw the hook through all loops on hook. Ch 1) Continue to make puff stitches in all the stitches in the previous rnd. as indicated in the bold brackets ( ). Join with a sl st to the top of the first stitch. Fasten off C2. (12 puff stitches).
Rnd 3: This round is made using bobbles. For a detailed tutorial on how to crochet bobbles, click here. Firstly, you will turn your work so that the wrong side becomes the new right side.
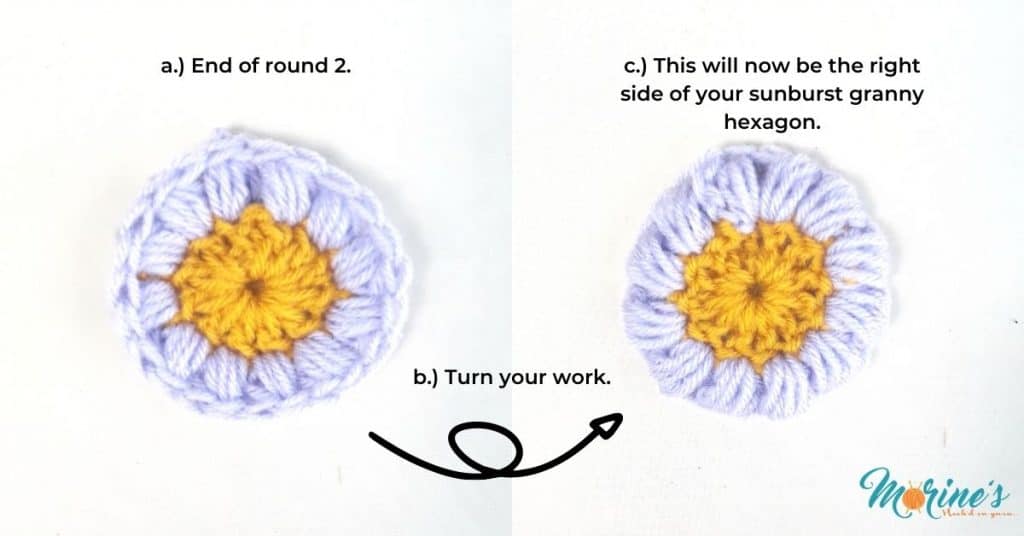
After that, you will work your bobbles in the ch-1 spaces from the previous round.
Join C3 into any ch-1 space from round 2 and ch 2. (Yarn over, insert the hook into the stitch, yarn over, pull up a loop, yarn over, draw through 2 loops on hook) 3 times. (There will be 4 loops on hook.) Yarn over, draw through all remaining loops on hook. Ch 2
For the remaining spaces, you will work the bobble as follows: Yarn over, insert the hook into the stitch, yarn over, pull up a loop, yarn over, draw through 2 loops on hook) 4 times. (There will be 5 loops on hook.) Yarn over, draw through all remaining loops on hook. Ch 2.
At the end of the round, you should have 16 bobbles stitches. Fasten off C3.
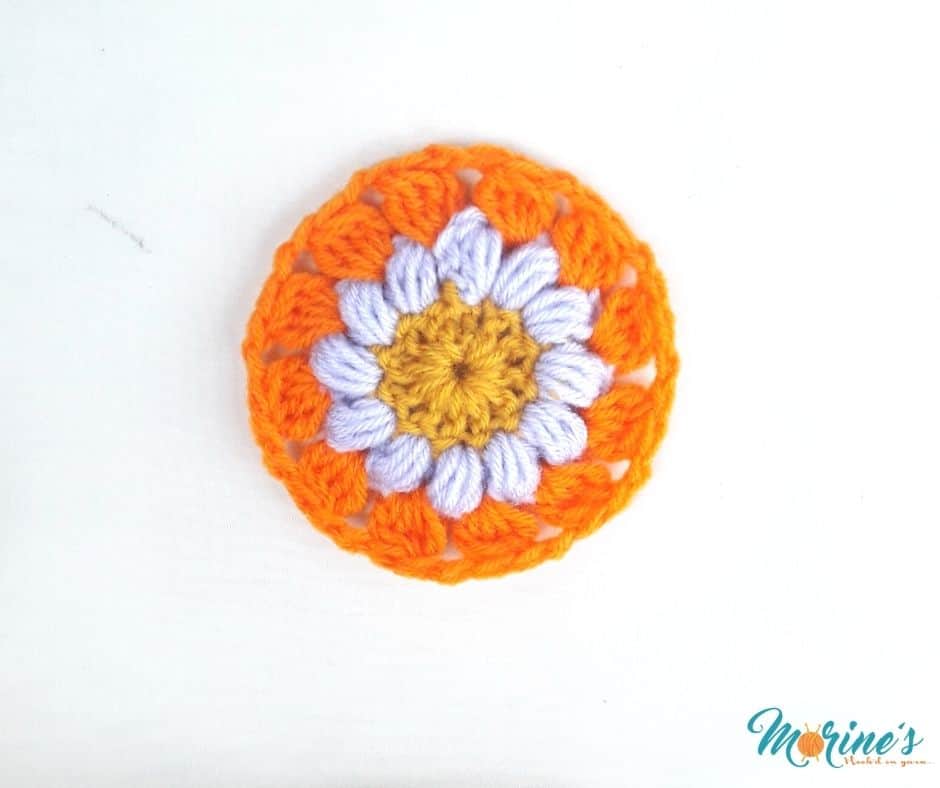
Let’s turn that gorgeous flower into a sunburst granny hexagon
Rnd 4: Join C4 in any ch-2 space from the previous round. Ch 3 (counts as 1st dc). dc, ch 2, 2 dc in same space; corner made.
3 hdc in next space, (2 dc, ch 2, 2 dc) in the next space.
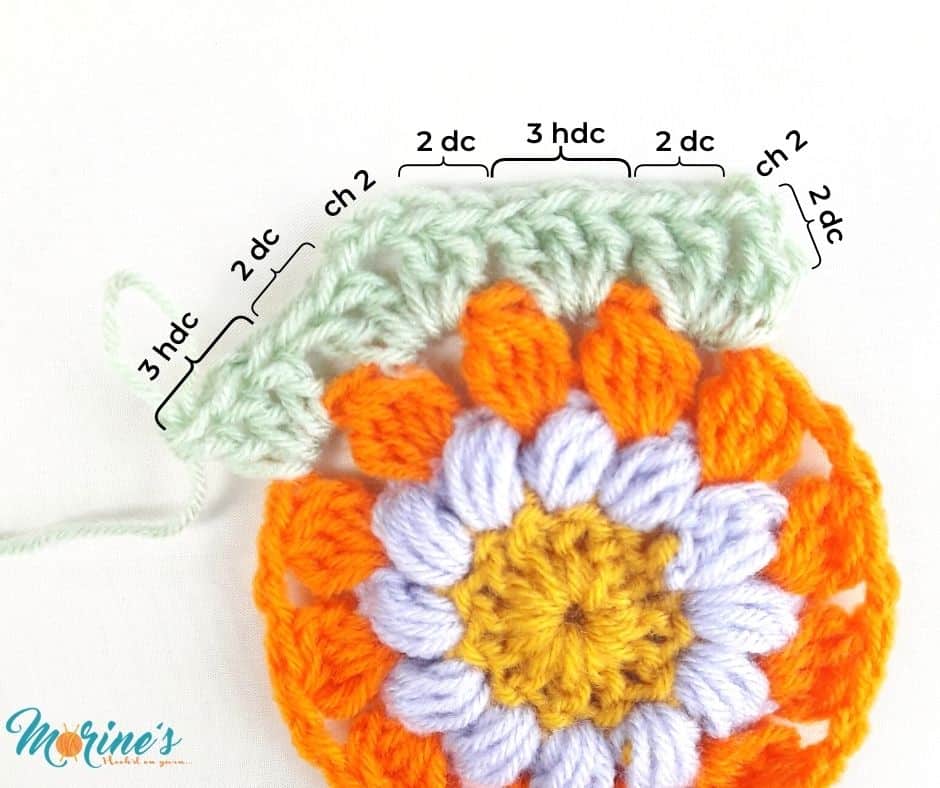
Repeat the previous step 5 times. 3 hdc in the last space. Join with a sl st to the 3rd ch of beginning ch 3. Fasten off.
Rnd 5: Join C5 in any ch-2 corner space from the previous round. Ch 3 (counts as 1st dc). dc, ch 2, 2 dc in same space; corner made.
3 dc in each of the next 2 spaces, (2 dc, ch 2, 2 dc) in the next corner space.
Repeat the previous step 5 times. 3 dc in each of the last 2 spaces. Join with a sl st to the 3rd ch of beginning ch 3. Fasten off.
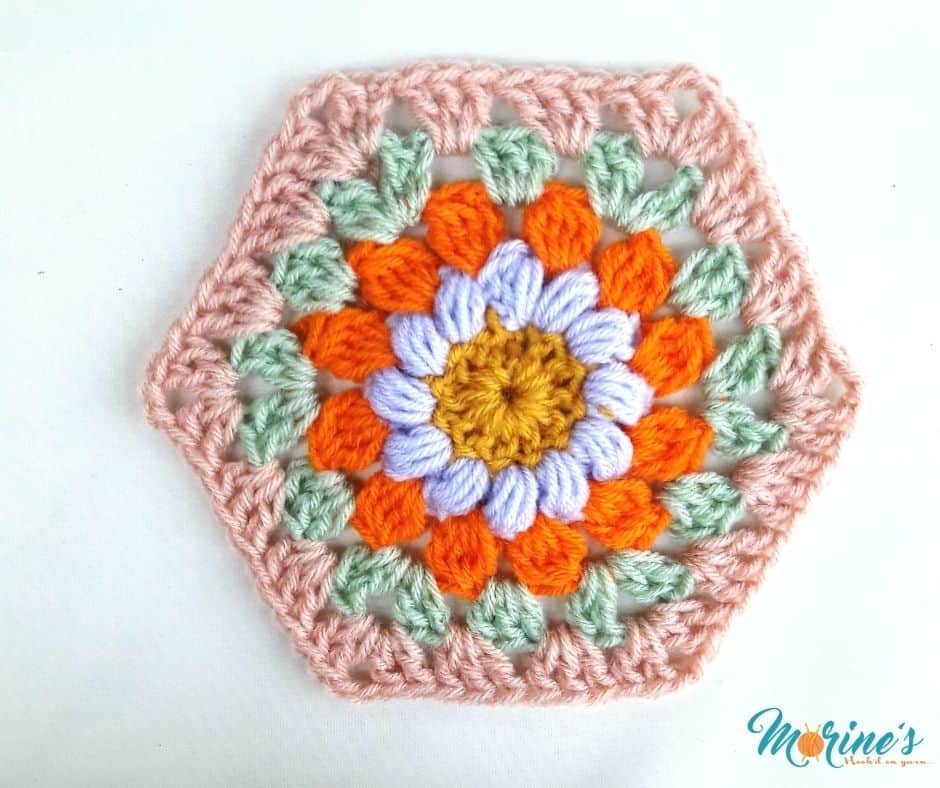
And there you have it! A gorgeous sunflower granny square. You can play around with different colour combinations. In addition, if you want your sunburst granny hexagon to be bigger, you can continue the established basic granny square pattern into additional rows. Simply work sets of 3 dcs (a set in each space on the side) and in each corner work 2 dc, ch 2, 2 dc.


Pingback: Gorgeous Colorful Crochet Hexagons - Pattern Center
can you share details on how to connect these hexagons to make a blanket & how to make a half one too please.
Thanks
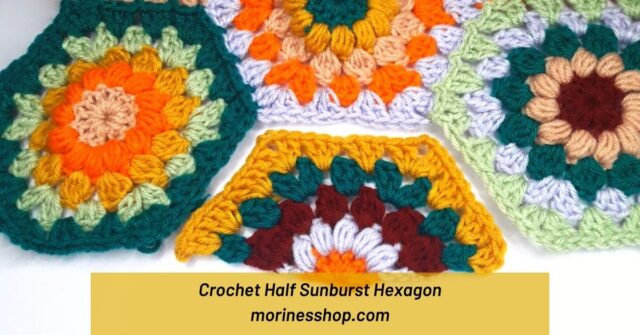
Hi Paula. I’ll be sharing the tutorial on the half hexagon and how to join them as well in the coming weeks.
Brilliant , thank you.
You’re welcome!