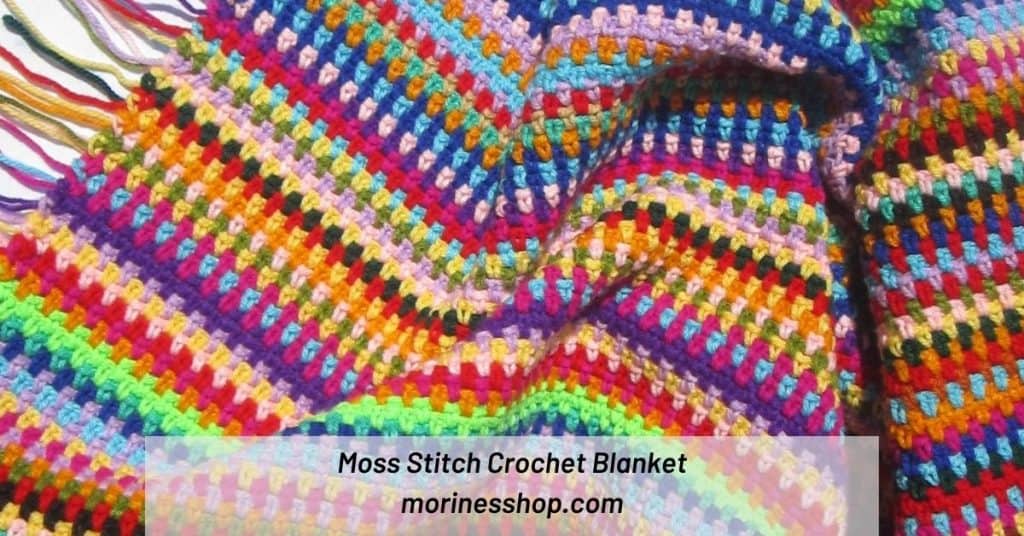
I love a quick and easy crochet blanket pattern so apart from granny square blankets, the Moss Stitch Crochet Blanket is my next go-to. Much like the classic granny square that uses 2 basis stitches (double crochet and chains), the moss stitch similarly uses 2 basic stitches- single crochet and chains.
In this blog post, I’m not only going to write about the pattern I used for my Moss Stitch Crochet Blanket, but I’m also going to guide you through making your own customized moss stitch blanket.
More moss stitch patterns
1. Designing your own moss stitch crochet blanket
i.) Size
First off, you’ll need to figure out what size of blanket you want to make. Is it crib size, a lapghan or a throw? You don’t necessarily need to know what it will fit but you need to have measurements set. For my blanket, I wanted a small throw so I decided on make mine 64 by 50″.
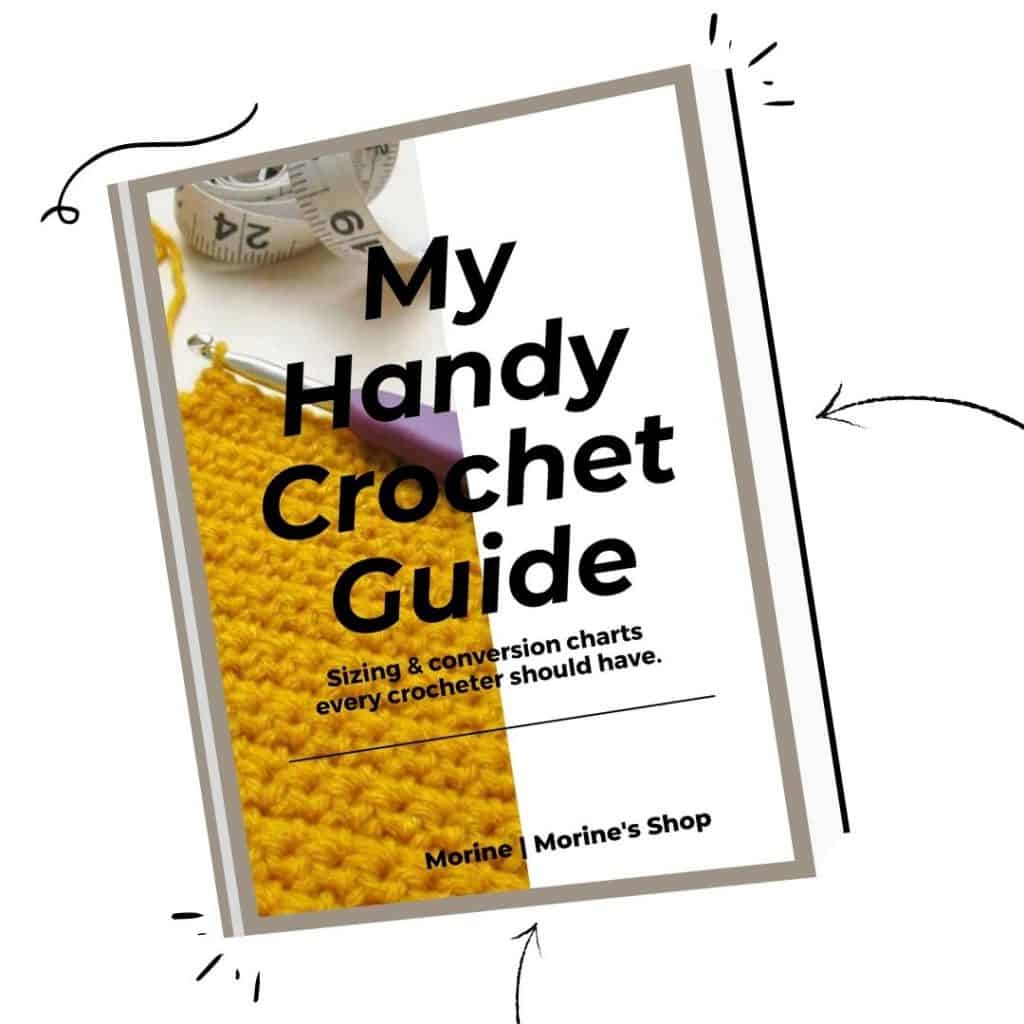
Can’t decide on the size for your moss stitch blanket? No problem! Just download My Handy Crochet Guide that has all the popular blanket measurements and you can start from there. Sign up below to get your copy.
ii.) Colours
Secondly, you need to settle on the colours you’ll use. Having a general idea of what you want your moss stitch crochet blanket to convey is the easiest way to decide. Do you want it to be warm & cozy, saturated & sassy or fresh & calm? Or do you have a signature colour palette you love using?
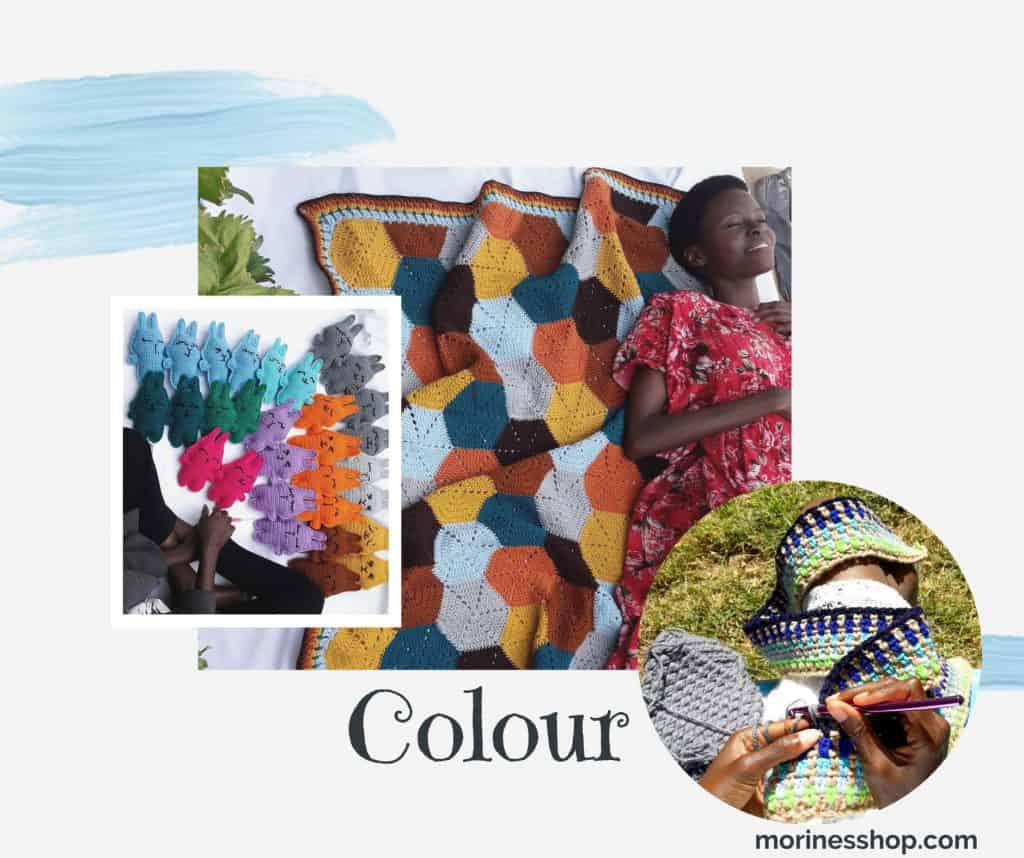
If you’re still undecided on the colour, you can check out my Pinterest board on colour inspiration. I also like to test out my colour combination on a Random Stripe Generator. You can use the one from Stylecraft or Easy Crochet to do so as well. This makes it easier for me to tweak it a bit and to also decide on the number of rows for a particular colour.
iii.) Fiber & swatch!
You’ll need to decide on which fibers use, and select the yarn you’ll use to crochet your blanket. Crochet small swatches of the moss stitch to get a feel of it and to see how they will work. That’s optional, but it’s a process that helps me greatly when I am preparing to crochet a blanket.
Acrylic is the most popular fiber for crocheting blankets. There are other possibilities, but it’s my personal favourite.
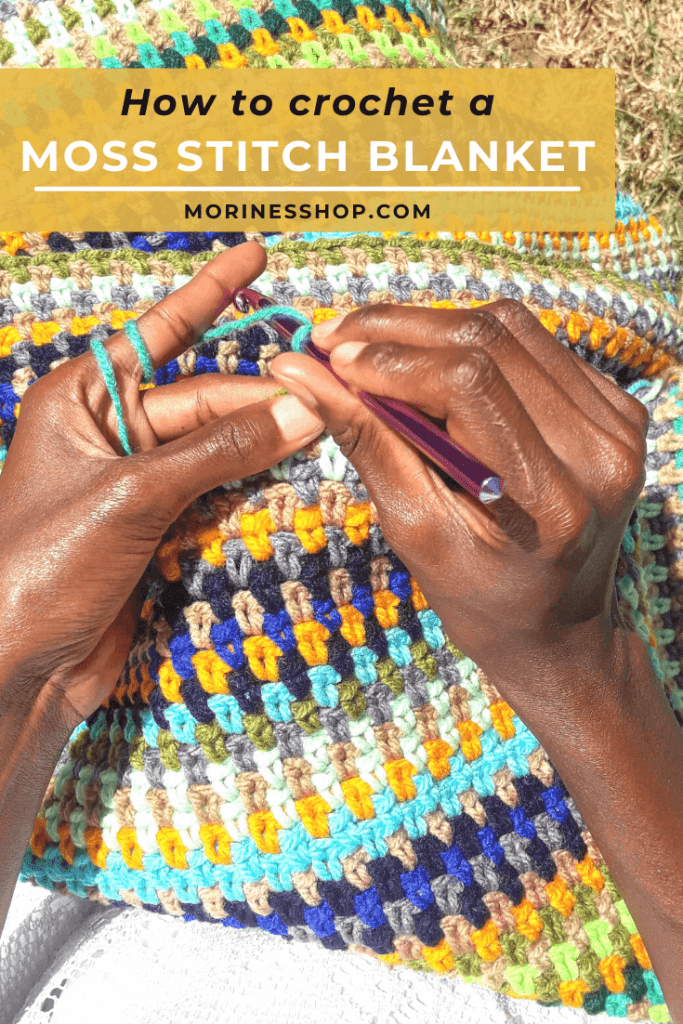
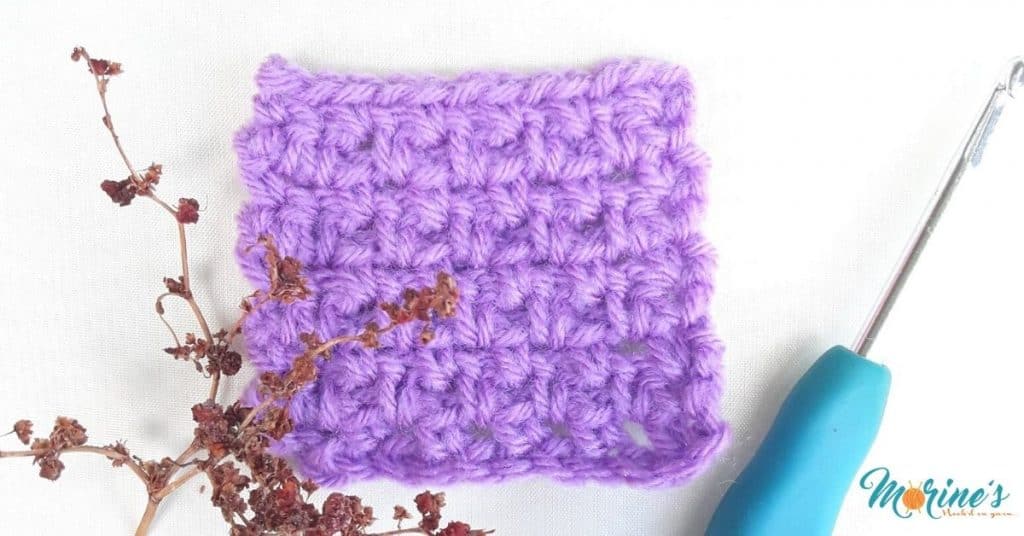
How to crochet the moss stitch
At this point I should probably mention that the moss stitch has a bunch of different names. It also goes by Seed stitch, the Linen stitch, the Woven stitch as well as the Granite stitch. Before we get to making the blanket, we must first learn how to work the moss stitch.
For this tutorial, I used:
- 4 mm crochet hook
- DK weight yarn
- Scissors
Stitches and terms used:
- Ch(s)= chain(s)
- St(s)= stitch(es)
- Sk= skip
- Sl st= slip stitch
- Sc= single crochet
To start, work an even number of chs, in other words, ch a multiple of 2. I did a ch 12
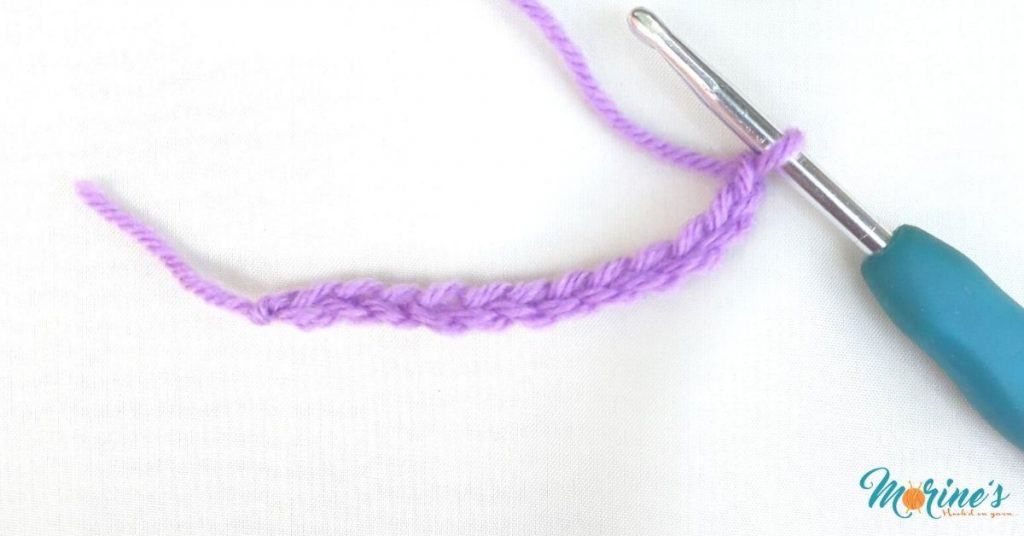
Row 1: Starting from the 2nd ch from the hook, (sc, ch 1, sk next ch) across. Sc in last ch. Turn

Row 2: Ch 1. Sc into the 1st st in the row below. Sc into the ch-1 sp. (Ch 1, sk next sc, sc in next ch-1 sp) across. Sc in the last ch- sp and the last st. Turn.
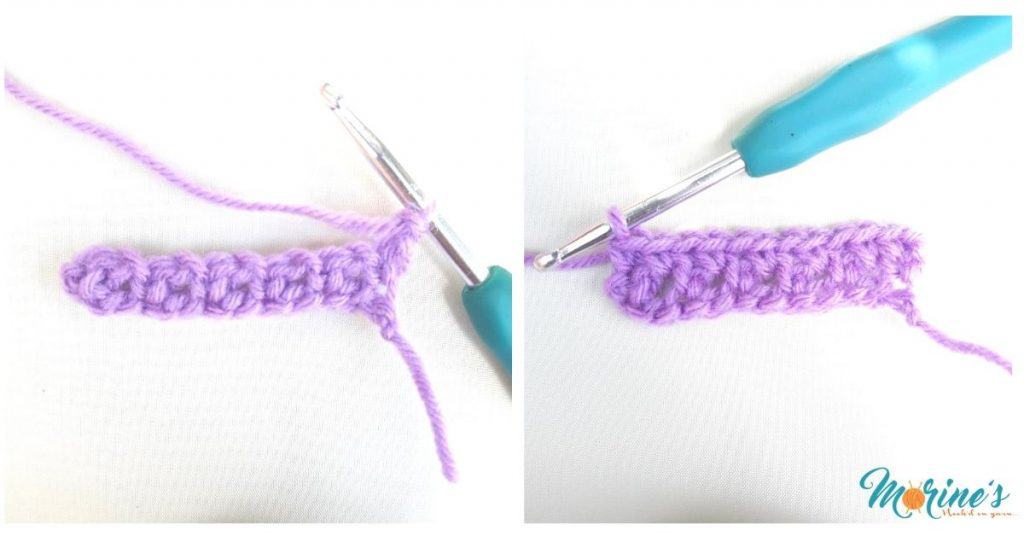
Row 3: Ch 1. Sc into the 1st st of the row below. (Ch 1, sk next sc, sc in next ch-1 sp) across. Sc in the last st. Turn.
Row 4 onwards: Rpt rows 2 & 3
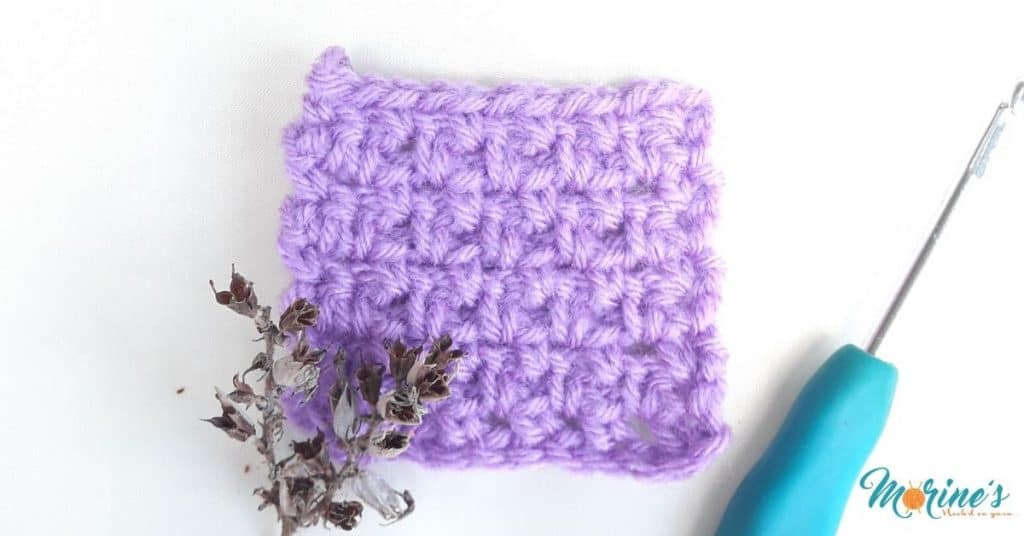
With that, let’s now get to my Moss Stitch Crochet Blanket pattern.
2. Moss Stitch Crochet Blanket Pattern
If you want to get started on making a Moss Stitch Crochet blanket without all the calculations, then you can use the pattern below.
Materials:
- Acrylic worsted weight yarn in various colours
- 6.5 mm crochet hook
- Scissors
- Darning needle
Instructions:
Row 1: Ch 210. Starting from the 2nd ch from the hook, (sc, ch 1, sk next ch) across. Sc in last ch. Turn
Row 2: Ch 1. Sc into the 1st st in the row below. Sc into the ch-1 sp. (Ch 1, sk next sc, sc in next ch-1 sp) across. Sc in the last ch- sp and the last st. Turn.
Row 3: Ch 1. Sc into the 1st st of the row below. (Ch 1, sk next sc, sc in next ch-1 sp) across. Sc in the last st. Turn.
Row 4- 175: Rpt row 2 & 3

Finishing:
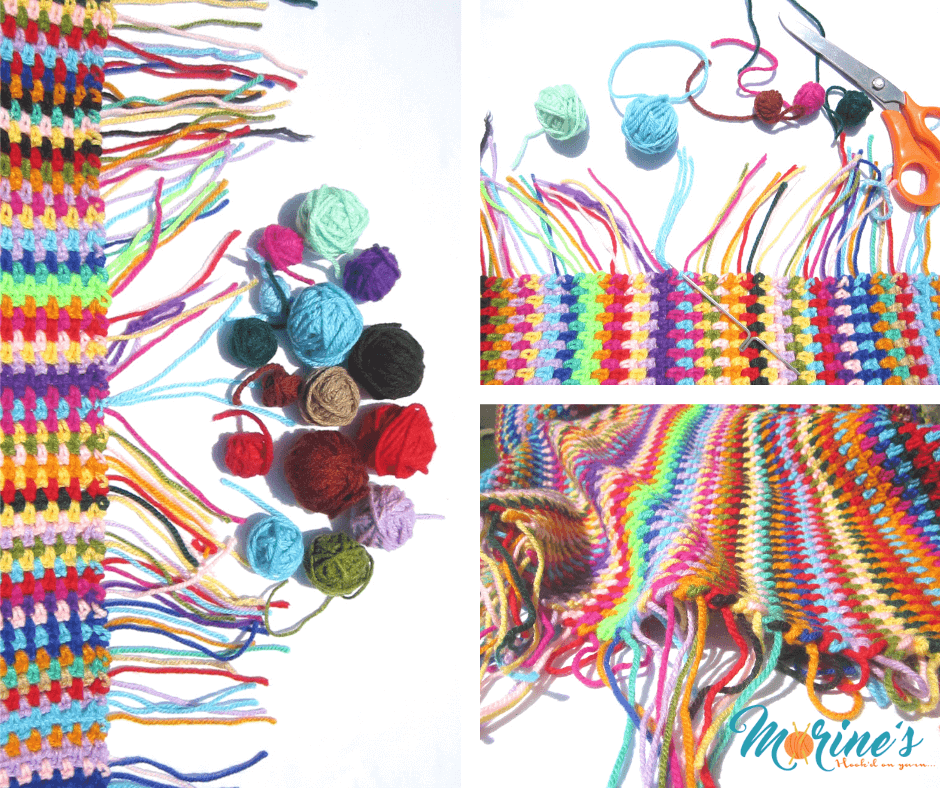
Since this was a stash busting project for me, more scraps were left over. Not big enough to complete a row but not small enough to use as stuffing for my amigurumi either.
I chose to use these scraps to add to the fringe. You don’t have to match up the row colour with the scrap for fringe. Mix and matching makes the blanket lovelier!
If you choose to weave in your ends, you can add a sc border placing 1 sc in each st across the edges and 3 sc on all the 4 corners.
And there you have it! All the information you’ll need to make your very own Moss stitch Crochet Blanket.
Did you enjoy learning how to make a moss stitch blanket? I’d love to see your creations! Please share your projects with me on Instagram. For more crochet patterns, please visit the crochet patterns section of the blog.
More resources on moss stitch crochet:
- 20 Moss Stitch Crochet Patterns- Dabbles & Babbles
- Moss Stitch Crochet C2C Tutorial- Daisy Crochet Designs
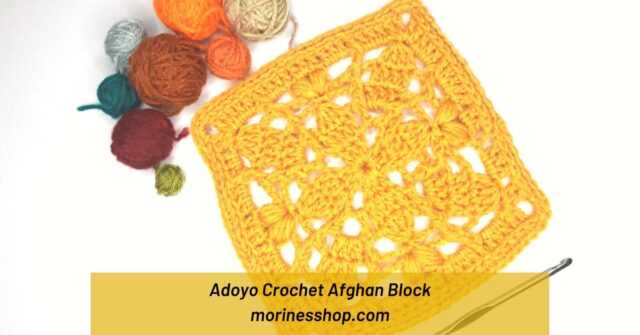
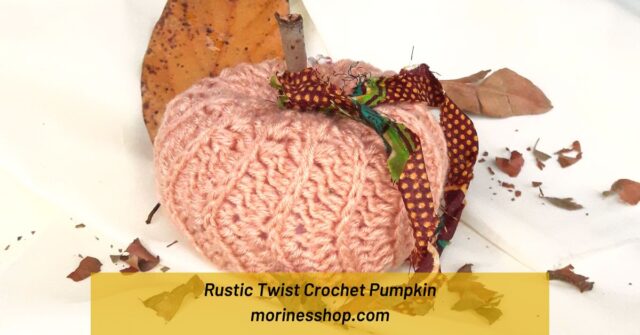
Related Posts

I can’t seem to get to the free moss stitch pattern, I have the code, but clicking on the pic takes me to your site w the C2C info & your crochet guide. Appreciate those, but would really like the blanket pattern
Hi Deb. Thank you for pointing that out. The forms are now updated but I’ve just sent you the new code to your email. Have a lovely day and enjoy the pattern.
I have tried to download this pattern for the last hour with zero success. Any tips?
Hi Luann. The pattern is in the Resources Library. To gain access, you’ll need to subscribe to my mailing list. After confirming your email address, you’ll get another email with the log in details for access to this pattern and others.