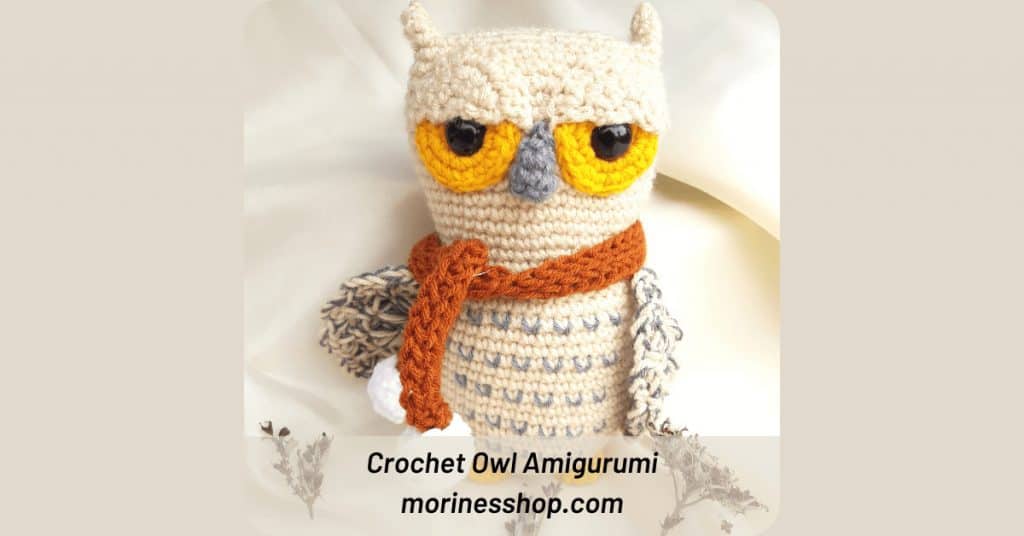
After making the Magical Owl Keychain in 2019, I thought it was time for another crochet owl amigurumi pattern. In this post, I’m going to teach you how to crochet an adorable owl amigurumi.
Pin it now, make it later!

Get Macho the Owl
- Free pattern: Keep scrolling for the FREE version of this crochet owl amigurumi pattern
- Printable PDF: Pick up the beautifully formatted, ad-free PDF version of the Macho the Owl from Ravelry or Morine’s Shop Store
About Macho Owl.
Meet Macho the Owl, another crochet softie creation to add to your selection of crochet amigurumi. Macho is Swahili for eyes and I find this to be very appropriate for this crochet owl amigurumi because its most distinctive feature is it’s eyes.
This crochet owl amigurumi is made for donation and inspired by the need to end the stigma surrounding owls. In most African cultures, the owl is viewed as a bad omen. Its presence accompanied by its nocturnal hooting sends a chilling message that something awful is about to happen.
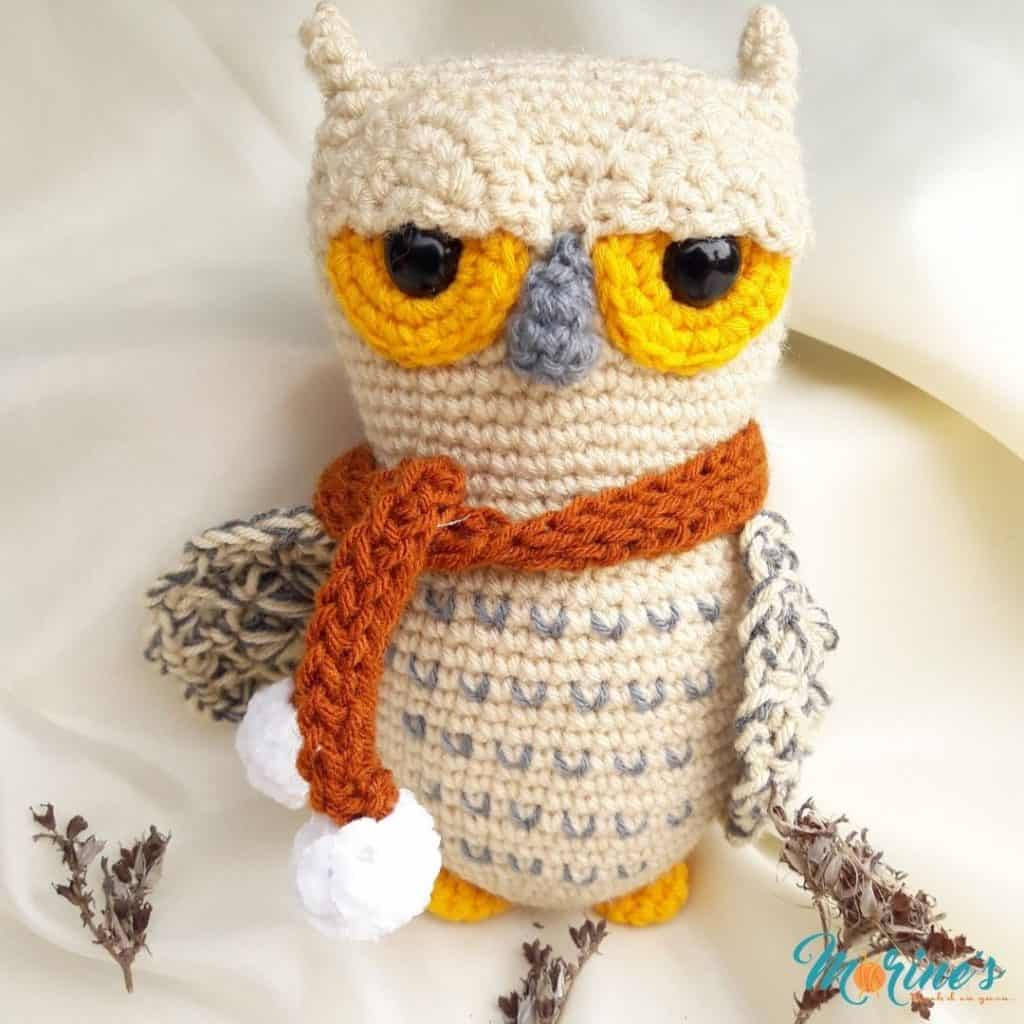
As a nature lover and advocate of all things cute and cuddly, it’s my hope that this cute, huggable owl amigurumi will help change the perception that people still attach to owls.
Crochet owl amigurumi pattern.
Macho is very quick and easy to make that can stand on any flat surface. It makes for a beautiful addition to your kid’s room, a meaningful gift or even as part of your home décor!
It uses off- white DK yarn for the main body. The wings are made using a blend of off-white and grey yarn. Overall, the pattern uses easy, simple stitches enabling you to make dozens of these squishy cute birds!
Skill Level: Advanced Beginner
Materials:
- Acrylic DK yarn in:
- Off-white
- Dark grey
- Mustard
- Rust
- Acrylic Fingering Weight yarn in:
- Dark Grey
- White velvet yarn
- 3.5 mm crochet hook
- 5 mm crochet hook
- 14 mm black safety eyes
- Stitch marker
- Scissors
- Tapestry needle
- Toy stuffing
Stitches and terms used:
- Ch= chain
- Sl st= slip stitch
- Sc= single crochet
- Dc= double crochet
- Rpt = repeat
- St(s)= stitch(es)
- Sp(s)= space(s)
- Inc= increase: 2 sc in the same space
- Dec= decrease: single crochet two together
- Puff st= Puff Stitch: (Yarn over, insert the hook into the stitch, yarn over, pull up a loop) 3 times. There will be 7 loops on the hook. Yarn over, and draw the hook through all loops on hook
Size: With the yarn and hook specified magical owl measures approximately 8 inches tall and 5 inches wide.
Yarn alternatives:
- Any DK, #3 or 8 ply yarn
- Any variegated DK yarn for the wings
- White worsted weight yarn in place of velvet yarn
Notes:
- Read through the pattern before starting your work just to be sure you don’t have any questions that might cause frustration while working on the project.
- This pattern is written in US terms. For a conversion into UK terms, get my free eBook with the conversion charts here.
- The pattern is worked from bottom up in continuous rounds into the st as normal (unless otherwise stated).
- This pattern starts with a magic ring. For a detailed tutorial on how to work and secure the magic ring, read through my blog post on the same.
- Repeating sections within the rounds are shown in round () brackets followed by the number of times they are repeated e.g. (sc, inc) 6 times means the sequence in the brackets must be repeated a total of 6 times.
- Stitch totals are shown in square [] brackets at the end of each round e.g. [18] means you should have a total of 18 stitches at the end of the round.

Pattern:
1. Eyes (make 2)
With Mustard yarn and 3.5 mm hook,
Rnd 1: Work 6 sc in a magic circle [6]
Rnd 2: 2 sc in each of the 6 sts [12]
Rnd 3: (inc, sc) 6 times [18]
Rnd 4: (inc, 2 sc) 6 times [24]
Fasten off and leave a 10” tail for sewing onto the body. Insert 14” safety eyes in any st in rnd 1

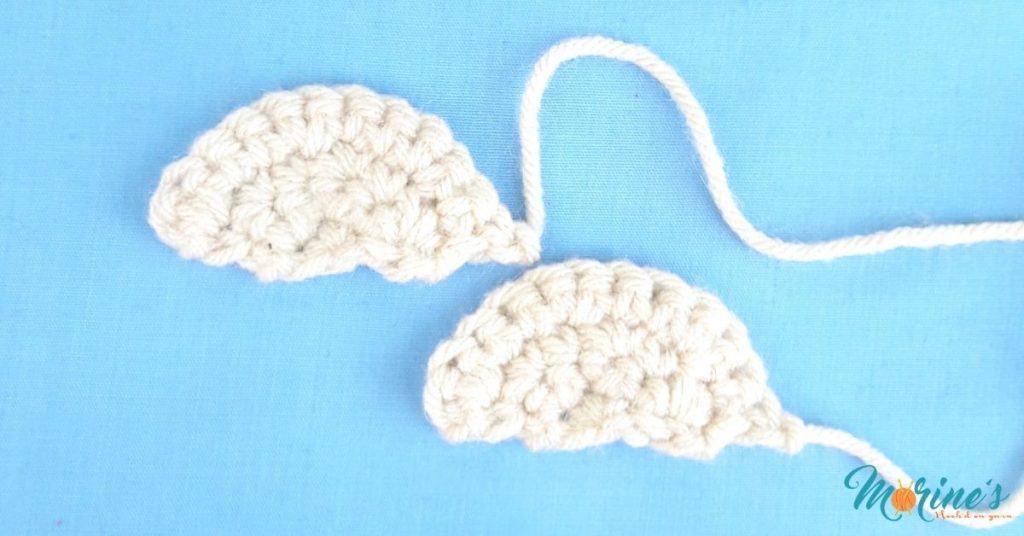
2. Eyelids (make 2)
With off-white DK yarn and 3.5 mm hook,
Row 1: 3 sc into a magic circle [3 sts]
Row 2: Ch 1, turn. (inc) 3 times [9 sts]
Rnd 3: Ch 1, turn. (inc, sc) 3 times [12 sts]
Rnd 4: Ch 1, turn. (inc, 2sc) 3 times [15 sts]
Fasten off. Leave tail for sewing on top of eyes.
3. Beak
With dark grey DK yarn and 3.5 mm hook,
Row 1: sc into 2nd ch from hook [1]
Row 2: Ch 1, turn. (inc) [2]
Rnd 3: Ch 1, turn. (inc) 2 times [4]
Rnd 4: Ch 1, turn. Inc, sc in each of the next 2 sts, inc [6]
Fasten off. Leave tail for sewing onto the body.

4. Wings (make 2)
With dark grey fingering weight yarn and off-white held together using your 5 mm crochet hook,
Row 1: Ch 3 (counts as 1 dc). Work 5 dc into a magic circle [6]
Row 2: Ch 2, turn. Work (puff st, ch 1) twice in the space between the 1st 2 sts. Sk next space. (Work (puff st, ch 1) twice in the next space) 2 times [6 puff sts]
Rnd 3: Ch 1, turn. (sc on top of puff st, ch 3) 6 times. Ch 3, sc in 2nd ch of beg ch-2 from row 2. [7 sc, 6 ch-3 sps]
Rnd 4: Ch 3, turn. (sc in ch-3 sp, ch 3) 6 times. Sc in last st [7 sc, 7 ch-3 sps]
Fasten off. Leave tail for sewing on the body.

5. Scarf
Main scarf:
The scarf is made using Tunisian Crochet Knit Stitch.
Stitch guide:
Tunisian crochet stitches are worked in 2 steps; forward and return pass from right to left with the number of sts increasing on the hook during the forward pass and decreasing during the return pass.
Return pass (RP) is worked in the same way for all stitches (rows of sts) used in this scarf as follows: yo and pull up just 1 loop (i.e. ch 1). (Yo, pull through 2 loops on your hook) twice.You should have 1 loop left on your hook.
Tunisian knit stitch (tks): Insert the hook from front to back between the front and back vertical bar, yo and pull up a loop.
With rust DK yarn and 5 mm hook,
Foundation row: Ch 3
Insert your hook in the 2nd ch, yo and pull up a loop, insert your hook in the next ch, yo and pull up a loop. You should have 3 loops on your hook. RP.
Row 2-66: Tks. Insert your hook in both loops of the last st and pull up a loop. RP
Row 67: Finish off using sl sts

Scarf “ball”:
With white velvet yarn and 3.5 mm hook,
Rnd 1: Work 6 sc in a magic circle [6]
Rnd 2: 2 sc in each of the 6 sts [12]
Rnd 3: sc in each st across [12]
Rnd 4: (dec) 6 times [6]
Fasten off. Leave a tail and use it to sew the opening closed.
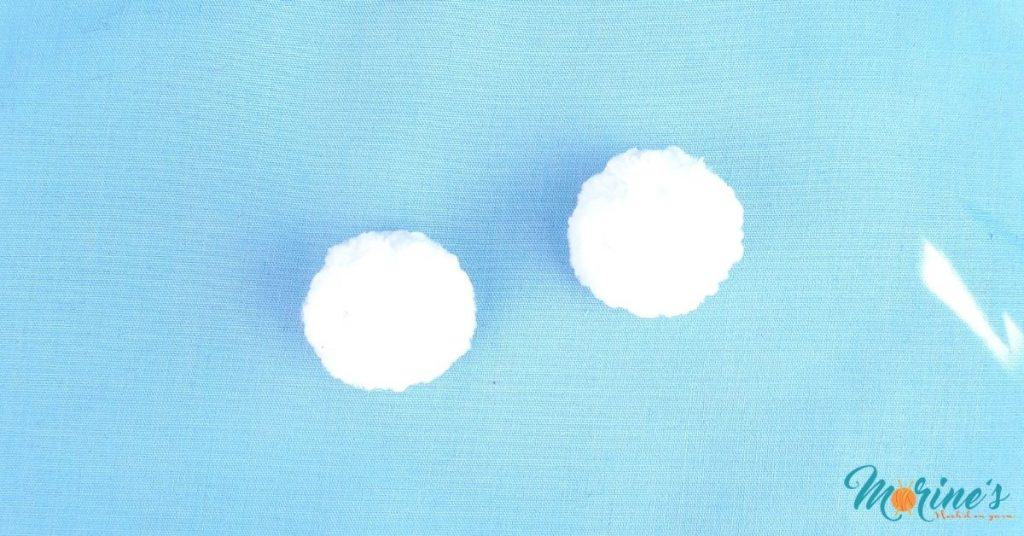
Attach each of the balls to the ends of the scarf.

6. Legs (make 2)
With mustard yarn and 3.5 mm hook,
Rnd 1: Work 6 sc in a magic circle [6]
Rnd 2: (sc, inc) 3 times [9]
Rnd 3-5: sc in each st across [9]

7. Body & Head
Body:
With off-white DK yarn and 3.5 mm hook,
Rnd 1: Work 6 sc in a magic circle [6]
Rnd 2: 2 sc in each of the 6 sts [12]
Rnd 3: (sc, inc) 6 times [18]
Rnd 4: (2 sc, inc) 6 times [24]
Rnd 5: (3 sc, inc) 6 times [30]
Rnd 6: (4 sc, inc) 6 times [36]
Rnd 7-8: sc in each st across [36]
Rnd 9: (5 sc, inc) 6 times [42]
Rnd 10-11: sc in each st across [42]
Rnd 12: (6 sc, inc) 6 times [48]
Rnd 13-23: sc in each st across [48]

Neck shaping:
Rnd 24: (6 sc, dec) 6 times [42]
Rnd 25: (5 sc, dec) 6 times [36]
Rnd 26: sc in each st across [36]
Head:
Rnd 27: (5 sc, inc) 6 times [42]
Rnd 28: (6 sc, inc) 6 times [48]
Rnd 29-43: sc in each st across [48]
Rnd 44: (5 sc, dec) 6 times [36]
Fasten off and leave a long tail for sewing the top closed.

Finishing for the crochet owl amigurumi pattern:
- Firstly, insert eyes at rnd 35 in st 6 & 15. Fasten eyes. Secondly, sew around the eyes to the body. Thirdly, attach eyelids on top of the eyes.

- After that, fold the beak length-wise and sew the beak between the eyes.

- Fold the head in half and working in both front and back stitches, whip stitch across. This sews the owl closed. From here, you will sew the ears. The seam is the base of the triangle- the ear, between the last 3 rnds of the head.

- Next, sew the wings on the side of the body. Only attach the straight edge. Similarly, attach the legs to the base of the owl.

- After that, sew feather detailing on the chest using dark grey DK yarn.

- Lastly, tie the scarf around the neck.

And there you have it. You’re very own distinguished Macho the Owl. I’d love to see you process and finished product so please use #MorinesShop or tag me @morines_shop on Instagram.

Hi! The counts are wrong for the eyelids, though the instructions are correct. It should be [3] – [6] – [9] – [12] instead of [3] – [9]- [12] – [15].
Love this project! It’s so cute!
Thanks for pointing that out Kaitlin. I’ve corrected the error.
Is there something I’m missing? Row 29 of the head has 42 stitches. Row 30 has 48. Row 31-45 has 42. Was there a decrease somewhere?
Hi Bertha. Thanks for pointing that out. It’s a typo. Fixed it now to read 48 sts
I’m confused at the number of stitches called for in the head. Row 29 wants 42 stitches. Row 30 wants increasing to 48 stitches. Row 31-45 wants 42 without any previous decrease. Thanks.
Hi again Bertha! I already corrected the stitch count. If it doesn’t reflect so on your end, clear your browser cache and load the page again.
Hello Morine, I was wondering if I was missing something or if it is just a typo but in the Body&Head section there was something confusing. The neck shaping ends on round 26 but the head begins on round 29. Did I need to single crochet around 2 more times?
Hi Clarisse. It’s actually a typo; I numbered the rounds wrong. I have since corrected it. Thank you for pointing it out.