In this blog post, I’m going to show you how to sew a zipper to a crochet bag (or pouch) and attach lining to it.
I really love a crochet bag but what makes me love it even more is if it has a zipper (or some sort of closure) and lining. Just saves me the hustle of having to worry about things falling out. Thing is, I struggled with the whole process. Is the lining meant to go it first or is the zipper? How do I make sure my lining isn’t too tight on the bag? And what do I do if my zipper is too long for my bag??
Well, I finally figured it all out and I’m going to share my process with you.
- Keep scrolling for this FREE tutorial
- Sharing is Caring! Pin this post for later

Get more crochet pouch patterns
- Dew Drop Pouch (Used in this tutorial)
- Granny Square Pouch
- Crochet Period Pouch
Before we get started…
You’ll need to pick out a few things.
- Fabric (Cotton is a great choice!)
- Needle
- Coordinating Thread
- Zipper (for this tutorial I’m using an 8″ zipper)
- Pins
- Scissors
- Iron/Ironing board
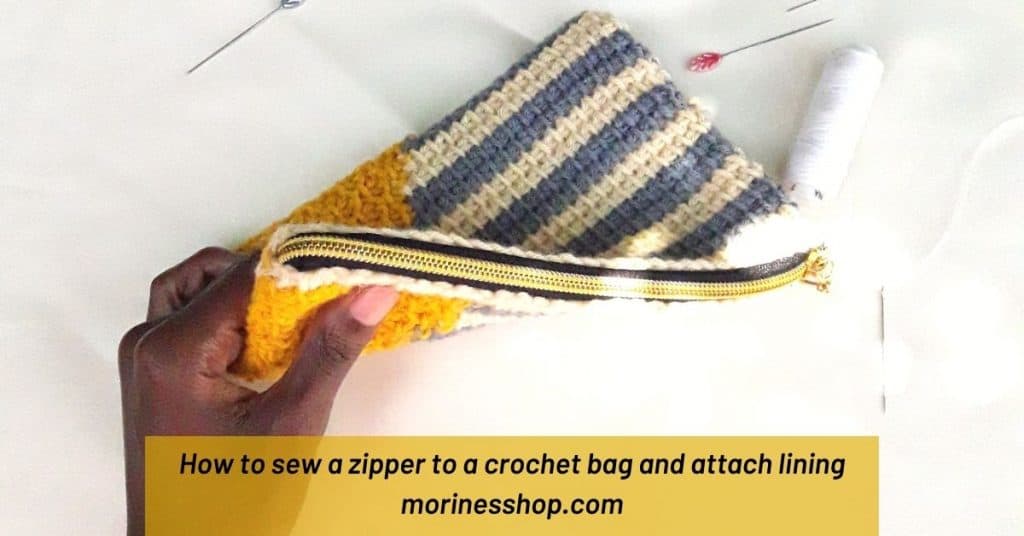
How to sew a zipper to a crochet bag and attach lining
a.) How to sew a zipper to your crochet bag
As mentioned above, for this tutorial, I’m going to be using the Dew Drop Pouch.
- First off, take your crochet bag/pouch, your zipper and your pins. Use your pins to hold the zipper in place around the pouch. You should get a zipper that’s the same size as the width of the bag. However, if you can’t find the right size:
- get one that is longer
- measure it to be the same width as your bag
- take a needle with thread and insert it where your zipper should end
- sew on this spot a couple of times. This will be the new “end” of the zipper
- leaving a 0.5 inch allowance, cut the rest of the zipper that you don’t need.
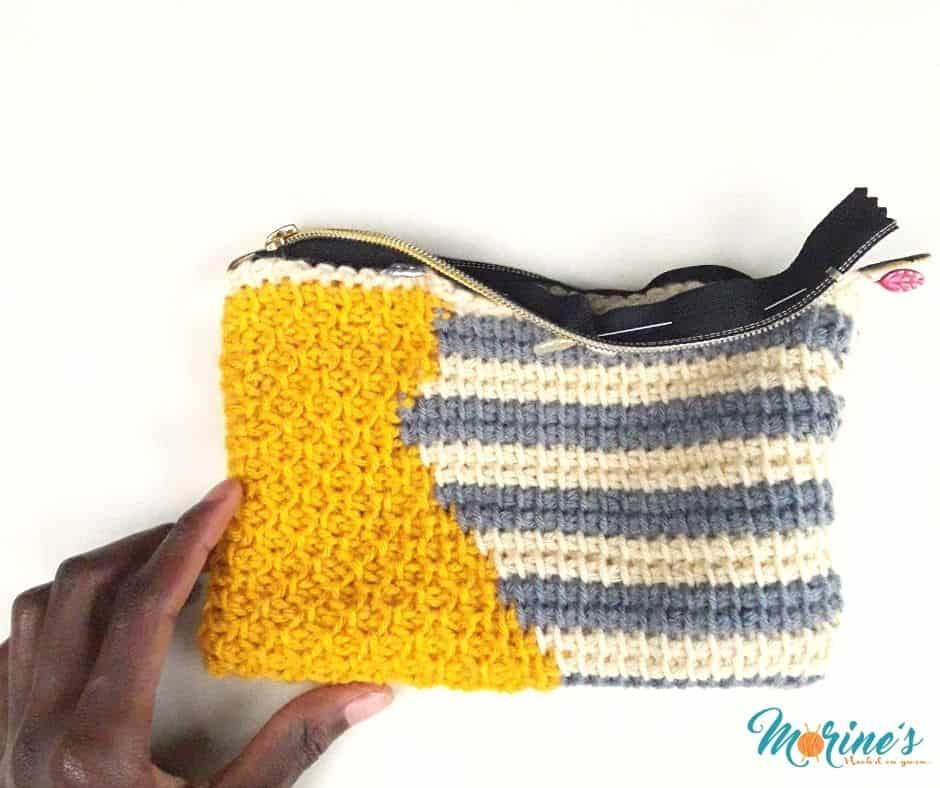
- After that, take the needle with thread and sew around with running stitches to secure the zipper. You will remove this tread later

- Thirdly, remove the pins and check if you can close and open your pouch easily and that the zipper is aligned properly. If you are happy with the result, move to the next step. If not, remove the thread and try once again

- Next, sew the zipper to the pouch using back stitches. Be sure to choose thread that is a similar colour to your pouch. If you don’t have a thread in the colour you need, you can separate the yarn that you used for crocheting the pouch and use it as thread. You will insert the needle just under the front and back loops of your top most stitches. In this way the thread will be less noticeable.

b.) How to add lining to your bag

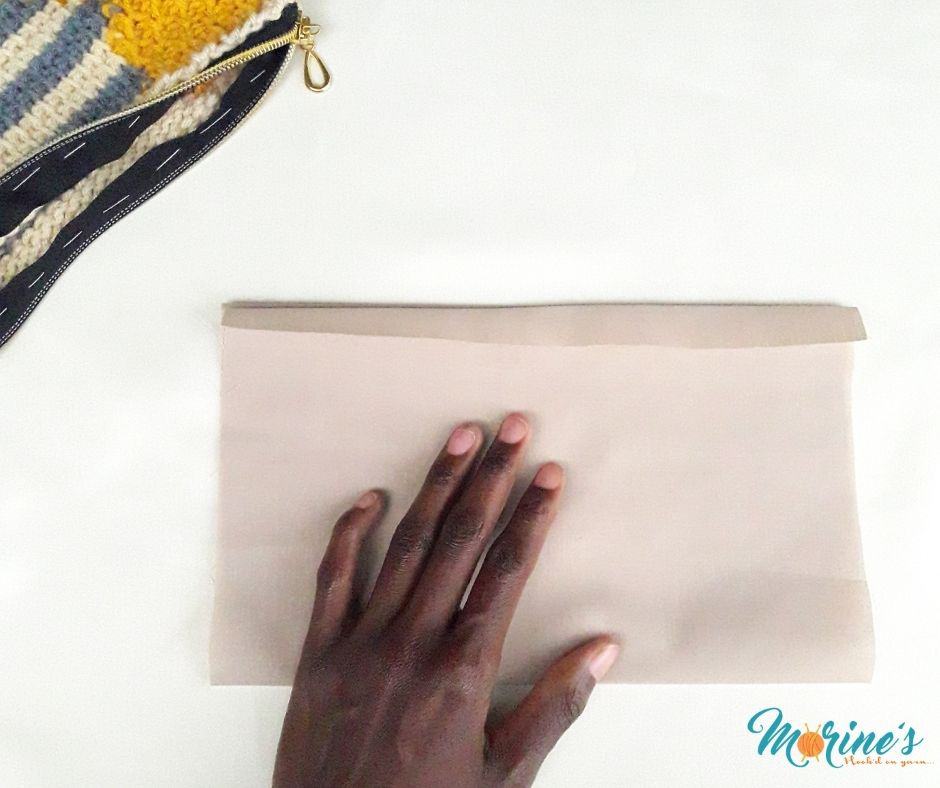
- The first step in how to sew a lining to your zipper pouch is to cut your fabric. To do this, take the measure measurements of your bag and add 1 extra inch to those measurements. For example, my pouch measures 8 by 11 inches before folding there I cut my lining measuring 9 by 12 inches. This is because the extra inch allows for 0.5 inches allowance on all sides for sewing.
- The second step is to make a 0.5 inch fold on the top and bottom of the lining (the long sides) and iron it to hold it in place
- Fold the lining in half and with a 0.5 inch allowance on each side, sew the sides together

- Next, turn your lining so that the seams are on the inside. After that, turn your pouch inside out and insert the lining

- Adjust the lining making sure the seams align with the seams of the pouch. Use pins to hold the lining into place

- Lastly, sew the lining into place. Make sure the stitches you used to sew the zipper to the pouch are hidden for a neat and clean finish.
I’d love to see you process and finished product so please use #MorinesShop or tag me @morines_shop on Instagram.

Related Posts