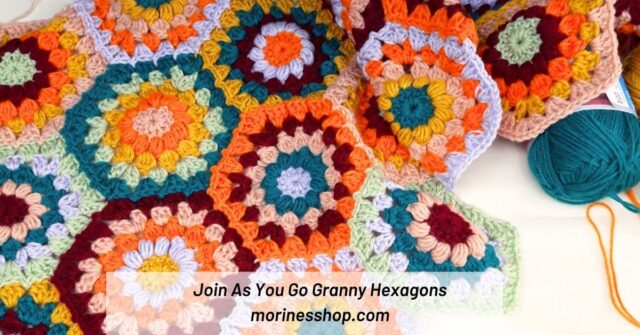
The flat slip stitch seam is a crochet seaming technique used to join motifs such as granny squares or hexagons. There are several methods you can use to join your motifs. It all depends on the project you’re working on and what will tie everything together nicely
Aside from the join as you go method or the whip stitch, the flat slip stitch seam is one of the flattest seaming techniques. In addition, when you use a contrasting color of yarn to work the seam it creates a visually stunning effect!
Pin it now, try it later!

Pros and cons of using the flat slip stitch seam
Pro:
- It’s an easy method for joining your motifs
- No sewing (I’m looking at you whip stitch method)
- Uses simple slip stitch
- It’s even. neat and attractive
- As the name suggests, it’s flat
Cons:
- It takes a bit longer than most other joining methods
As you can see, the pros outweigh the cons for the flat slip stitch seam join and that’s why we’re going to try it out!
How to join motifs with the flat slip stitch seam
Materials:
For this tutorial I’m going to use:
- DK yarn
- 4.5 mm crochet hook
- Darning needle
- Scissors

Stitches and terms used:
- ch(s)= chains
- blo= back loop only
- st(s)= stitch(es)
- sl st= slip stitch
- rpt= repeat
Before joining your motifs:
- Check your stitch count to make sure you have even stitches on each motif so they match up nicely.
- Lay all of your motifs out and decide on how you want to arrange them.

- Don’t make your slip stitches too tight or too loose as that will affect the final look of your project.
- The motif are joined with the right side facing.

- Always make sure that your working yarn is behind of your work.
- Your hook is inserted into the stitch from front to back.
- You will always start with the right square and then move onto the left square to complete the step.

- We will be working through the back loops of your stitches.

Instructions:
- First off, line up your motifs and starting at the corner. Secondly, insert your hook into the blo of the right motif in the ch 2 corner of the right motif, insert your hook from front to back into the blo of the 2nd ch and the blo of the left motif. The third and final step is to create a slip stitch.

- Insert your hook from front to back into the blo of the next st of the right motif and do the same for the left motif. Create a sl st.
You will keeping repeating the step above until you get to the next ch 2 corner, sl st into the first 2 chains only. Remember; right to left and yarn behind/under your work.

Repeat steps 1 & 2 for the next pair of motifs.

When you get to the end of a row and have no more motifs to join, sl st into both chs of the last ch 2 corner. Fasten off and weave in your ends.

After that, you’ll now move to seam your motifs horizontally or vertically, depending on how you started off. Follow step 1 & 2 above.

When you arrive at the intersection, ch 1, work over the existing seam, and Continue working in the same manner as before.

Seam all the motifs together and once finished weave in all your ends.
More flat slip stitch seam resources
Related Posts