
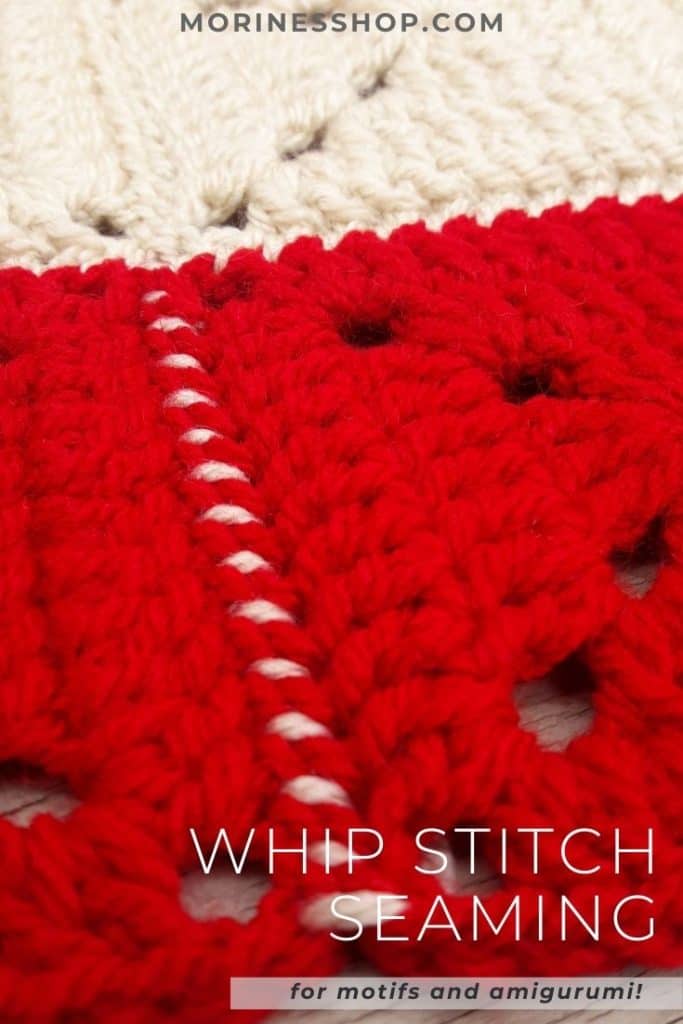
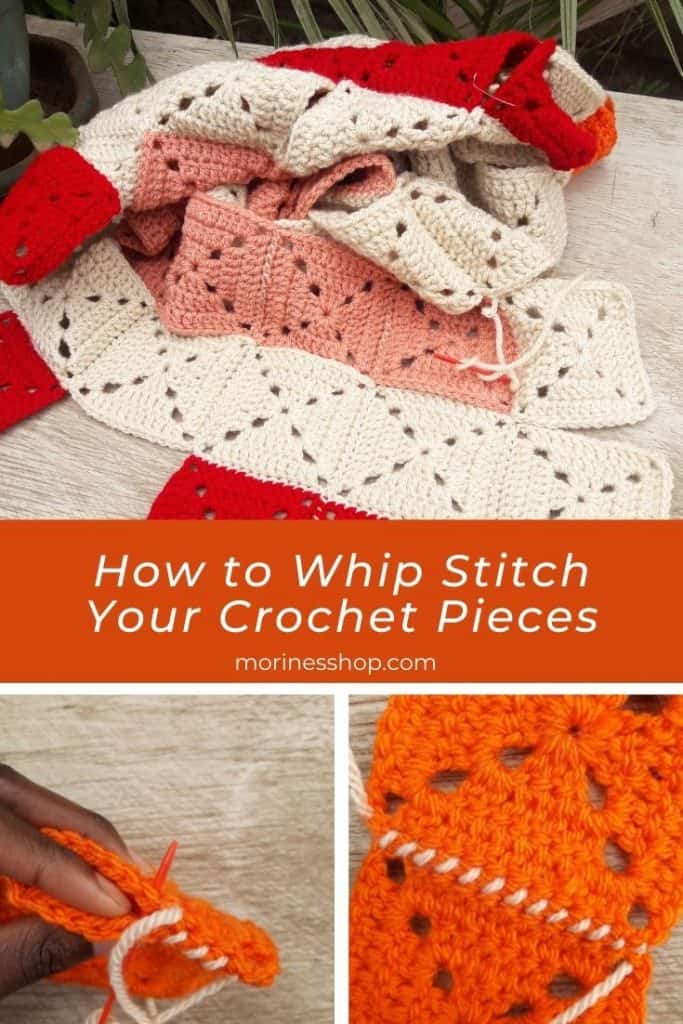
Crochet whip stitch is one of the simplest joining methods. It is a quick and easy sewing technique fantastic for joining crochet squares, motifs, and amigurumi pieces!
The other up side of this method is that you can join your pieces in any order you like. You can either finish them all before you start joining, or join a few and add to it later. Or even my favourite, join them into blocks and then join the blocks together, which can make things easier if you have long rows to join.
This post may contain affiliate links. This means that when certain links are clicked on and a purchase is made, we may earn a small commission. Please read our disclosure policy for more information.
Materials needed for whip stitch seaming
First and foremost, you are going to need yarn for whip stitch seaming. Be sure to use yarn that matches in terms of weight and fiber. For example, if you used 100% cotton yarn for the crocheted piece, then use the same for the whip stitching. Secondly, a pair of sharp scissors will also be required. Thirdly, depending on which part of the amigurumi you are attaching, you might need pins to secure the piece in place. Similarly for motifs with uneven stitch counts, you’ll need either clips or stitch markers to hold the motifs in place.
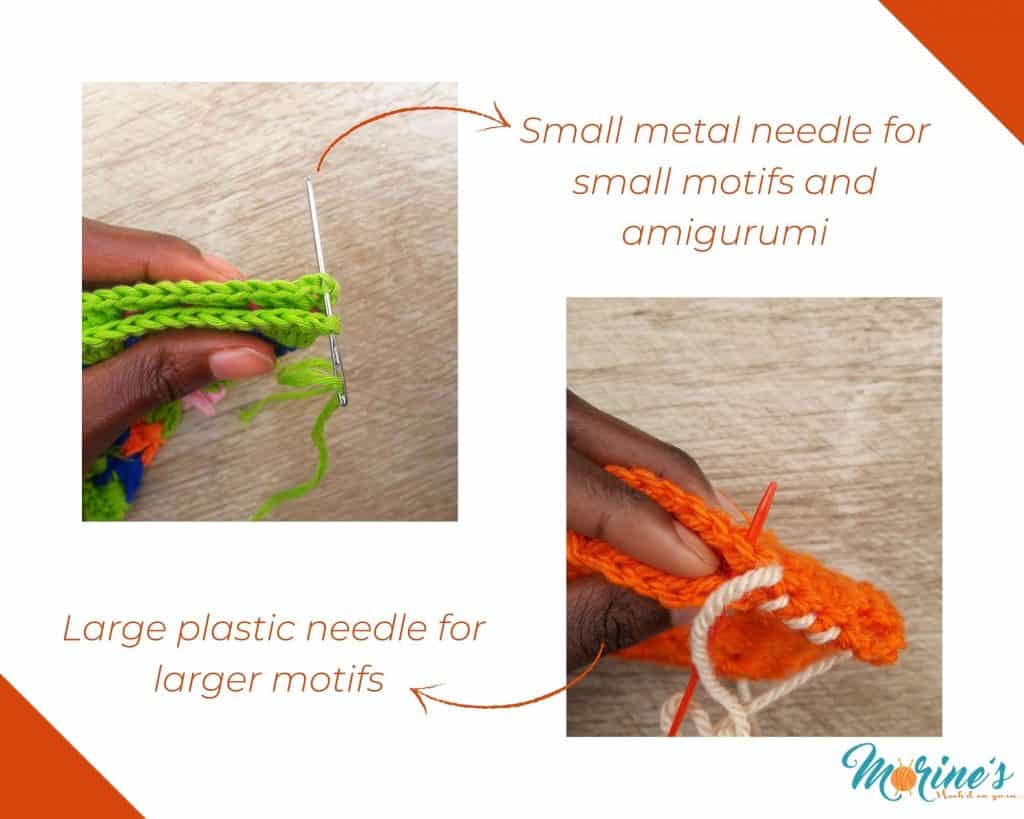
Lastly, you are going to need your darning needle with an eye large enough for your yarn. I use both metallic and plastic darning needles, depending on what I am joining. I prefer metal for small motifs and amigurumi, as they glide cleanly through crochet fabric and won’t split the yarn. For larger motifs, such as granny squares for blankets, I prefer larger plastic darning needle.
Pros and Cons of whip stitch seaming
Joining your crochet pieces (if any) is a crucial part of the finishing process. As such, you want to pick a method that works best for you and your piece. Below are some pros and cons of using whip stitch to join your pieces.
Pros:
- Fast and easy
- Strength seam
- Good for most seaming needs
- Great way to make an invisible join if your motifs all have the same colour on the last round
- You can join your motifs in any order you like
- The joined areas are very flexible
Cons:
- Unsuitable if you are using different colour pieces and don’t want your joins to show
1. How to whip stitch squares and other motifs
Depending on how big your finished crochet piece is, you can choose to start by joining the motifs into strips or join them into blocks and then join the blocks together, which can make things easier if you have long rows to join.
If you are joining long strips together, this is where the clips or stitch markers come in handy. You’ll simply place them evenly spaced across the pieces so they don’t move around much when you start whipping.
Instructions:
To start off, thread a length of your joining yarn or thread onto a yarn needle.
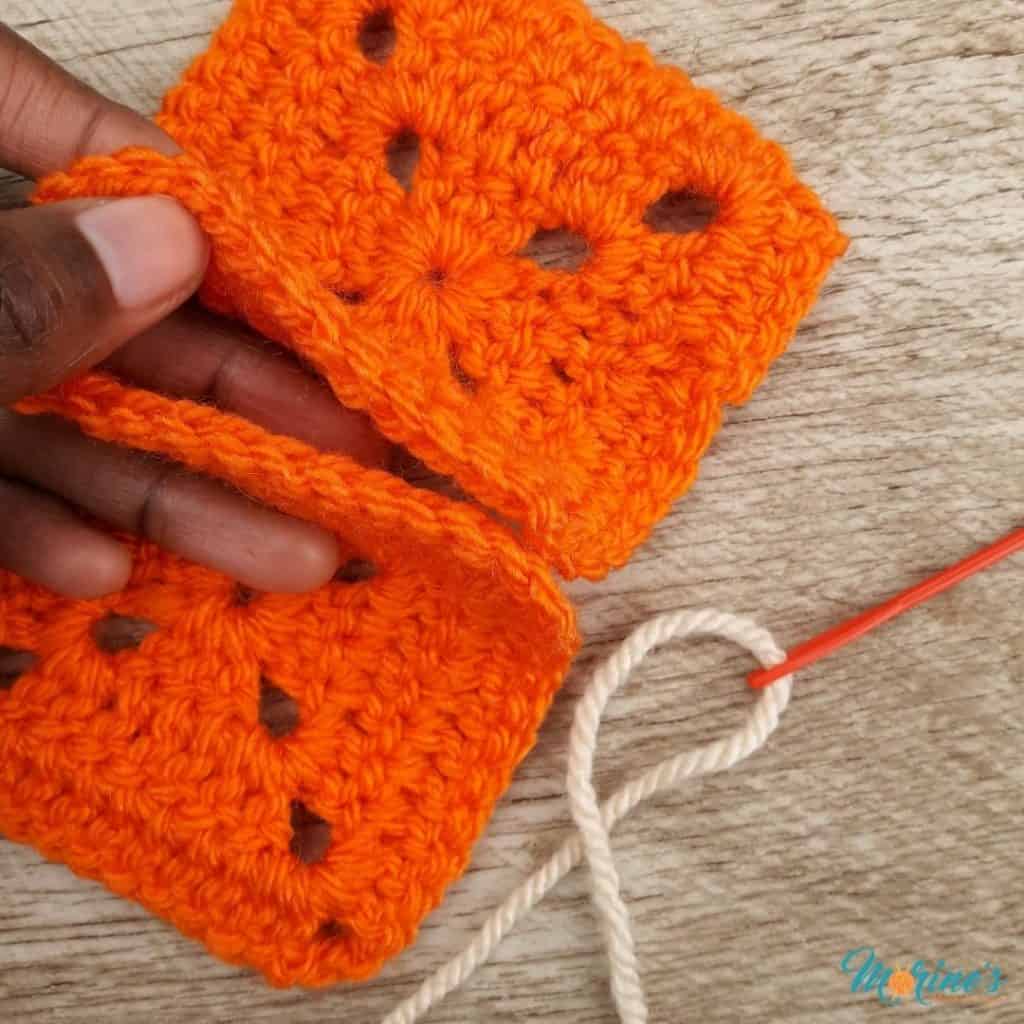
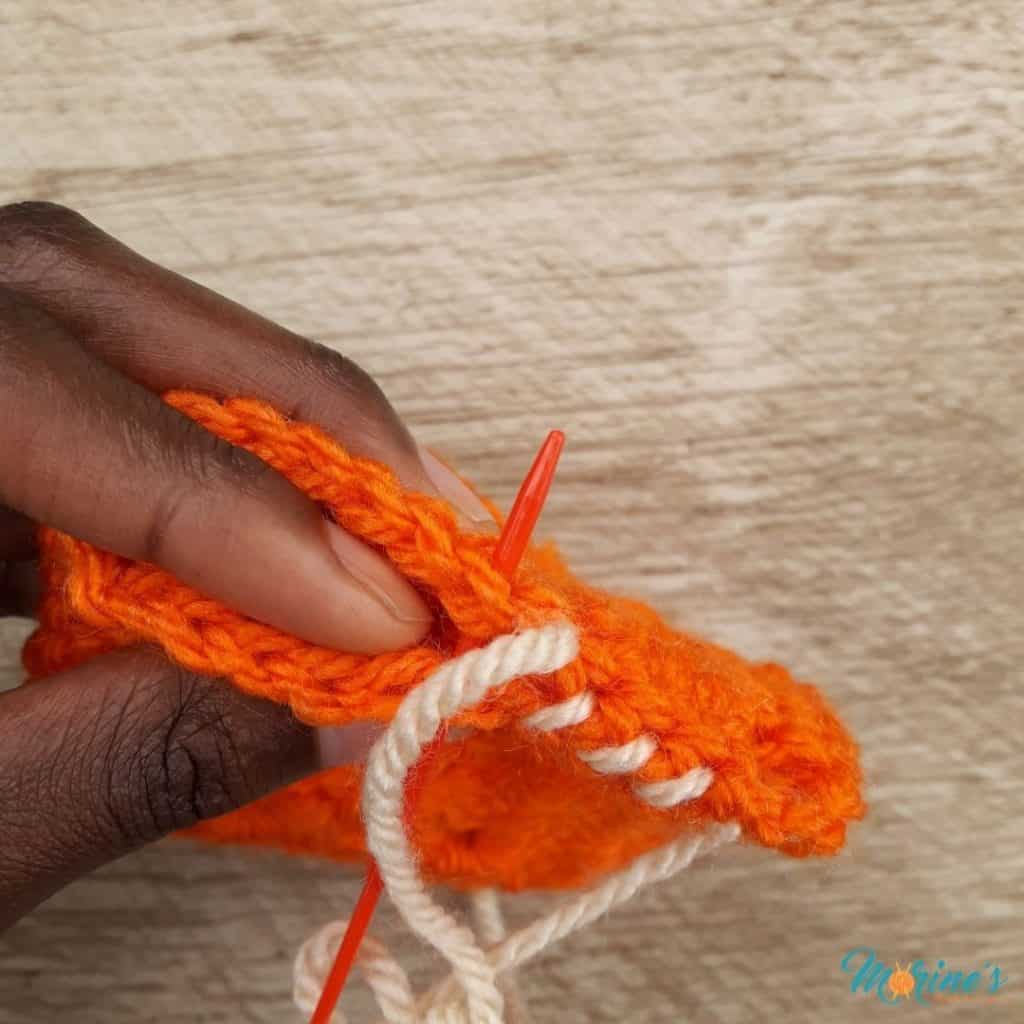
Hold two of the pieces to be seamed with the right sides facing each other and the wrong sides facing outward. If you’re joining squares or motifs with front and back loops such as granny squares or even crochet hexagons, pass the needle under both the front and back loops of the corner stitches on motif. Right-handed crocheters might find it easier to whip stitch from right to left where as left-handed crocheters may find it easier to move from left to right.
If your dealing with other crochet motifs such as crochet appliques or ones made in rows, then with the right sides facing each other, pass the needle on the corner stitches on the motifs.
Pull the yarn on through, then insert the needle under both loops of the second stitch of each piece. Again, pull the yarn so it is snug, but not too tight.
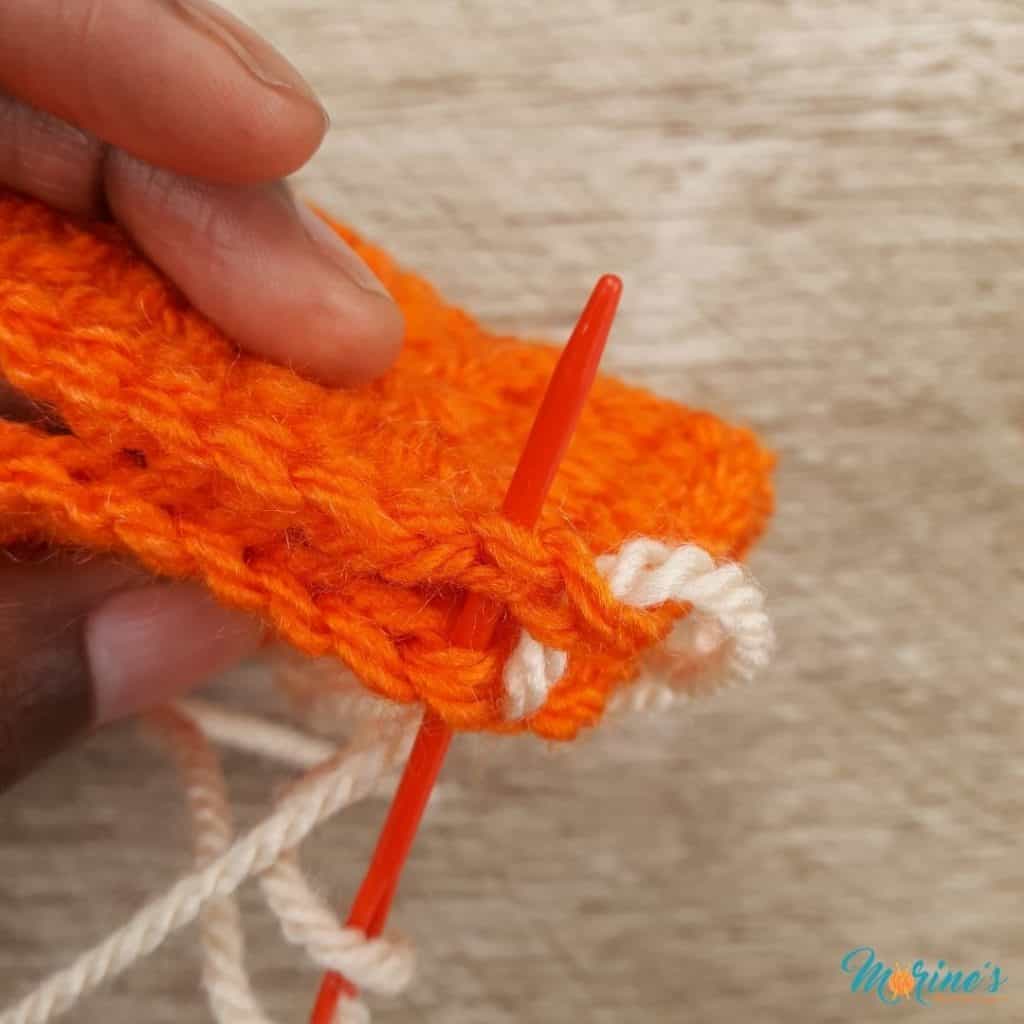
Draw the yarn on through, and move on to the third set of stitches in the same manner.
Continue to stitch through each set of stitches, going the same direction with the needle every time – whipping right through the stitches!
When you get to the end, secure your yarn as you normally would. I would recommend using my triple tuck method so your yarn is as secure as can be.
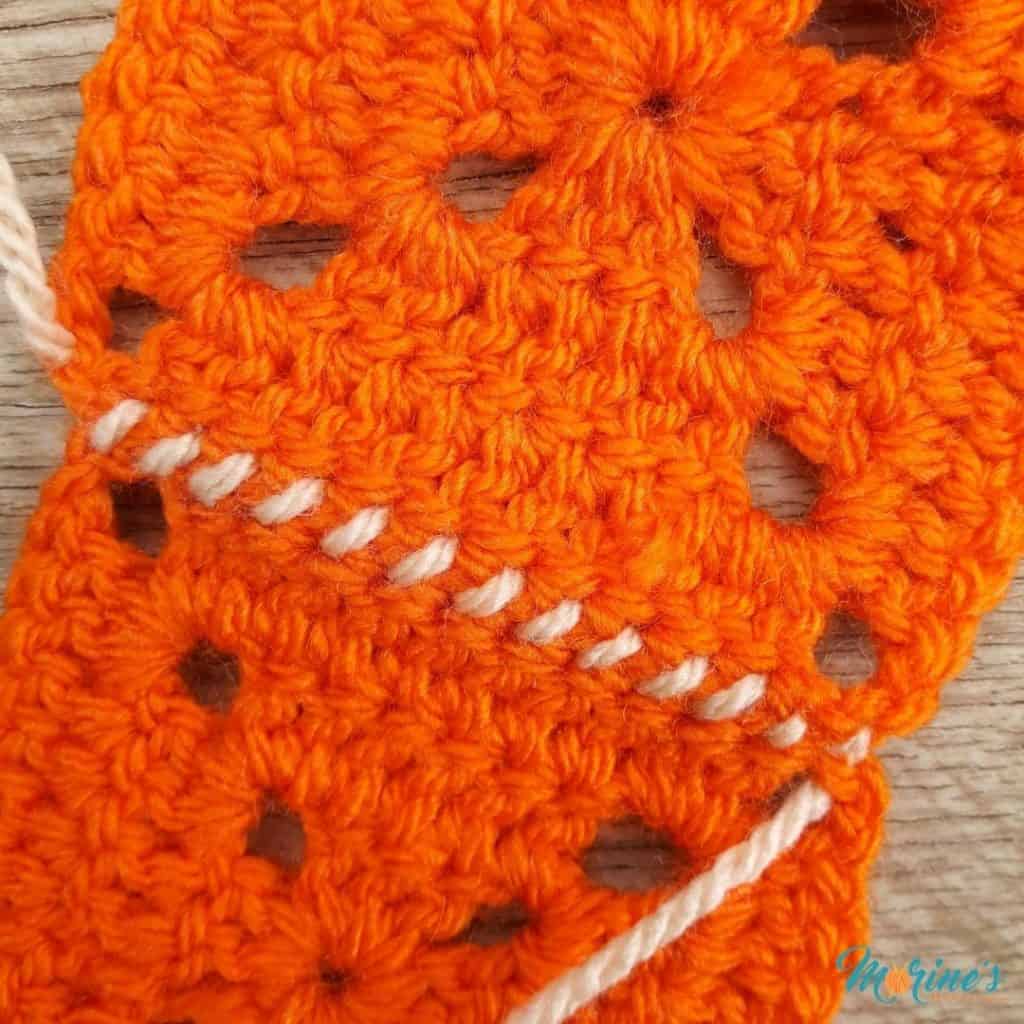
And here’s how it looks when the pieces are laid flat! Be sure to pin this for later and add it to you bookmarks as well. You can also get your hands on the On The Spot Throw to practice this technique.
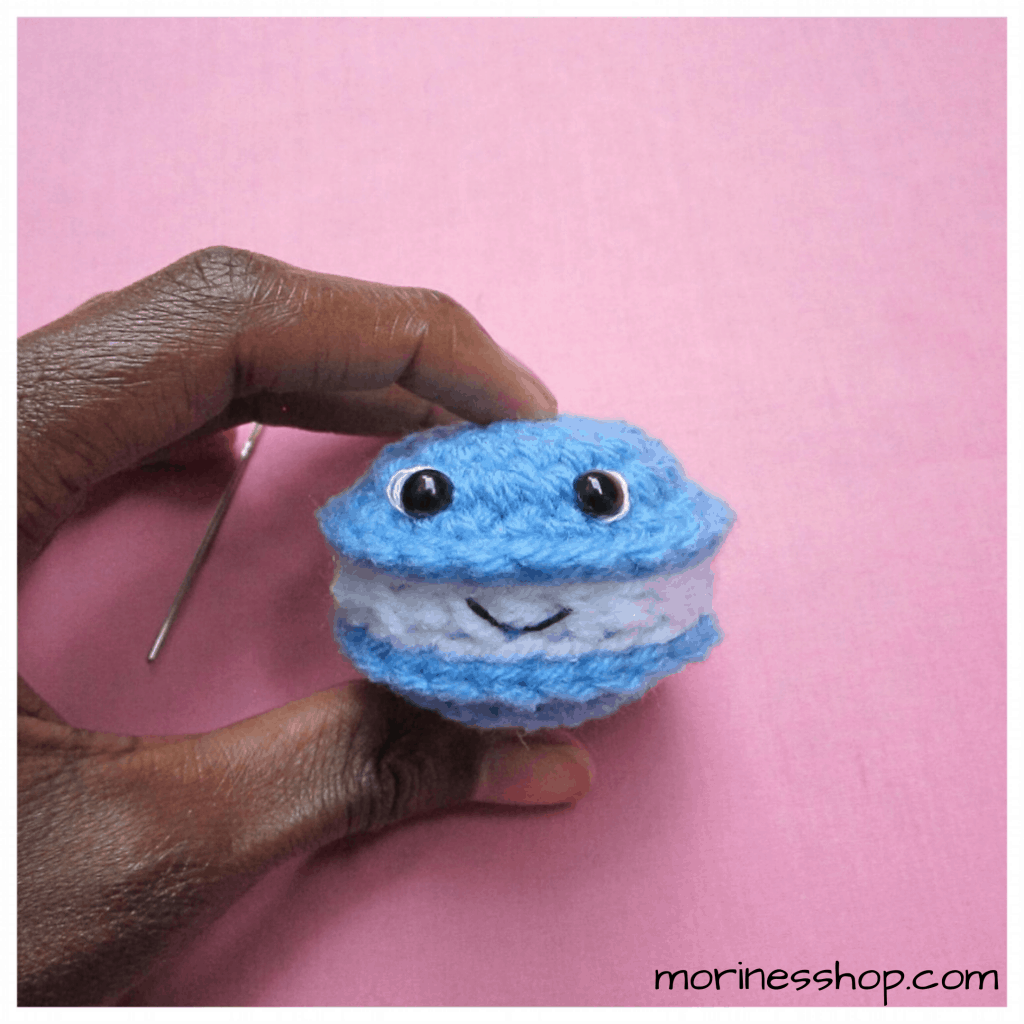
2. How to whip stitch amigurumi pieces
Most people dread assembling amigurumi parts. So, in this section, I’ll show you how to attach limbs easily and evenly. The trick to easy attachment is planning out your placement ahead of time. It’s a piece of cake after that!
First off, you need to plan where you are going to attach the limbs. If both pieces have the same number of stitches around the opening, you just need to make sure they are well aligned. Pieces sometimes tend to move around a lot when attaching, especially if you are working on bigger crochet amigurumi pieces. In such cases you might want to go one step further and use stitch markers to hold the pieces in place after aligning them.
Instructions:
Most amigurumi patterns will instruct you to leave a tail for sewing the pieces together later. To begin, thread your darning needle with this tail you left for sewing. If you didn’t leave a tail, no worries, simply thread a length of your joining yarn or thread onto a yarn needle.
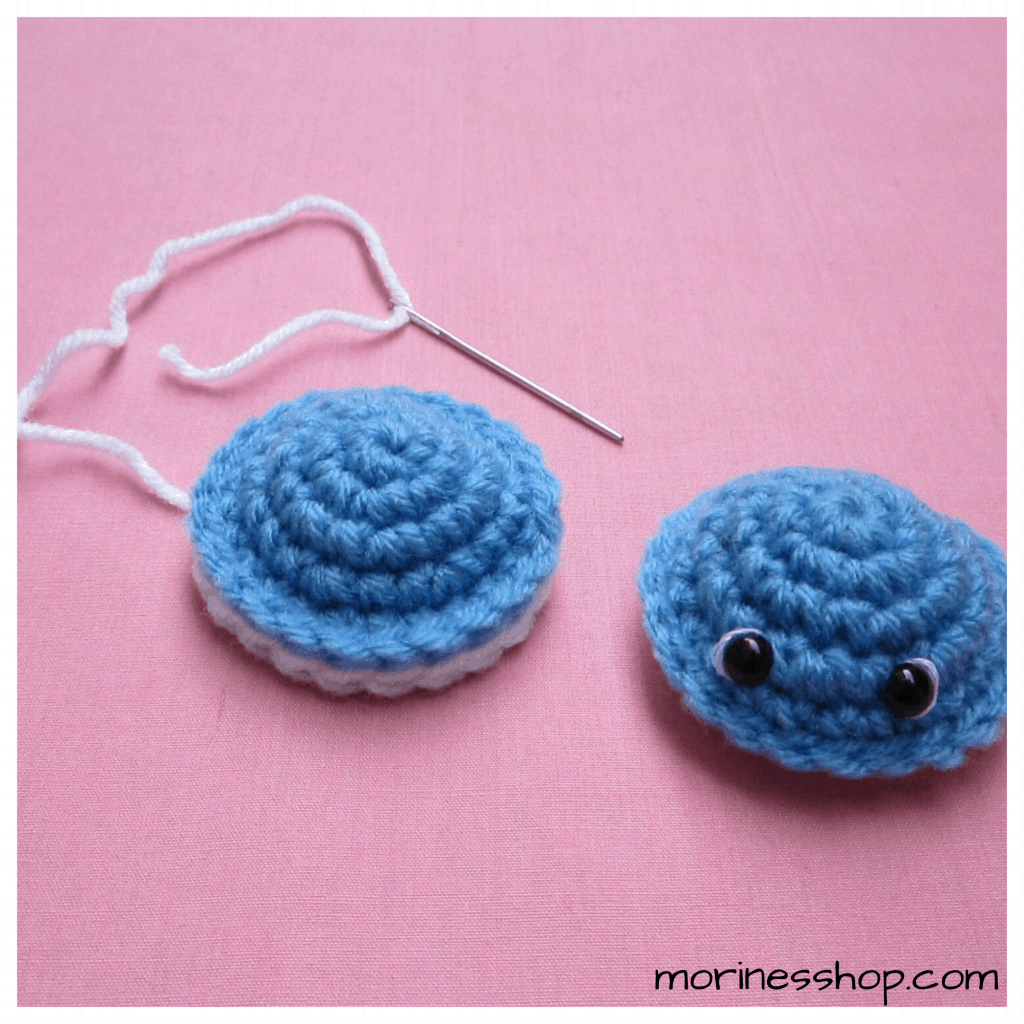
You will proceed to pass the needle under both the front and back loops of the amigurumi piece and whip stitch your heart out!. Unlike for the motifs, you will need to pull your yarn tight for whip stitch amigurumi so that you are not left with any gaps. Continue all the way around.
Did you enjoy learning how to whip stitch? I’d love to see your creations! Please share your projects with me on Instagram. To learn more stitch patterns, please visit the tips and tutorials section of the blog.
More crochet tips:
 How to Make a Slip Knot in Crochet (Beginner-Friendly Step-by-Step) - Learn how to make a slip knot in crochet with this easy beginner method. Start your first project with confidence step by step.
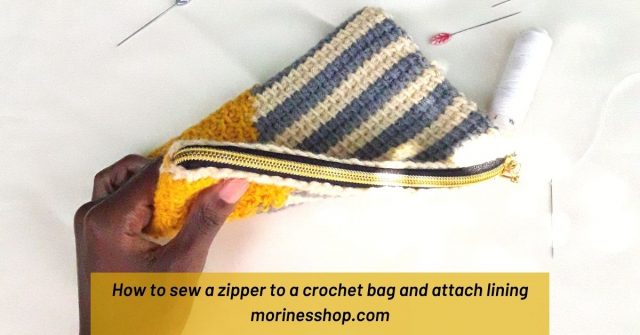 How to sew a zipper to a crochet bag and attach lining - Learn how to sew a zipper to a crochet bag and attach lining in this step by step tutorial with clear photos instructions suitable for beginners.
 How to Read a Graph in a C2C Crochet Pattern - A detailed guide on how to read a graph in a c2c crochet pattern. This tutorial also includes a gorgeous free crochet wall hanging pattern.
  C2C crochet (corner to corner crochet), a complete guide - Learn all about c2c crochet (corner to corner) in this tutorial. From squares, triangles, rectangles, decrease, increase and colour changes!
 Crochet Size Charts Crocheters Should Have, with free eBook - Crochet size charts are a handy thing to have. We'll cover blanket sizing, abbreviations, US/UK conversions and more in this quick guide