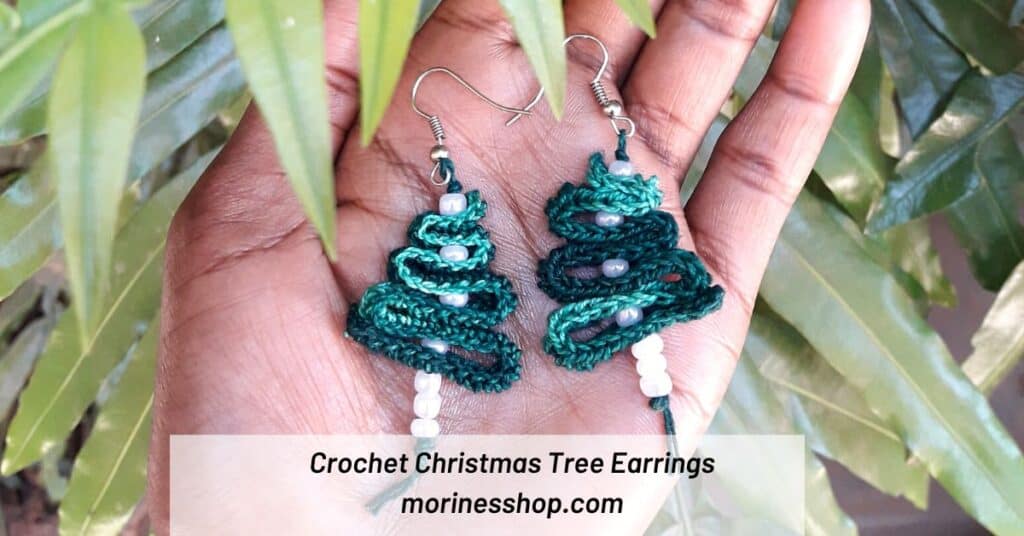
Learn how to make these chic crochet Christmas Tree Earrings perfect for the festive season, and especially as a last minute gift idea. However, the colour choice and delicate bead placement allow for these handmade earrings to be worn all year round for everyday wear or special occasions.
Get the Crochet Christmas Tree Earrings
Pattern: Keep scrolling for the FREE version of this crochet pattern or purchase the ad-free PDF
Keep track of this project by adding it to your Ravelry Queue
Sharing is Caring: Pin this post for later

About this pattern
The pattern for these Crochet Christmas Tree Earrings is based off of my 15-Minute Christmas Tree pattern. I have been on a mission to use up my stash for my designs and projects this year. That has included everything from my regular yarn to the likes of polyester cord!
This time, I chose to use gradient size 10 thread similar to the one I used for my crochet bookmark pattern. You can use solid colours too but the gradient yarn adds a unique touch and a nice pop of colour.

Crochet Christmas Tree Earrings Pattern
Skill Level: Beginner
Materials:
- Approximately 3 yards of gradient cotton size 10 thread
- 1.5mm crochet hook
- A pair of 1.75” fish hook ear wires
- 14 pieces of 3mm pearl beads
- Scissors
- 2 sewing needles; 1 large and 1 small
Stitches and terms used:
- Ch= chain
- Hdc= half double crochet
- “= inch(es)
Size: With the yarn and hook specified, Crochet Christmas Tree Earrings are approximately 2.75″ long & 1″ at widest point
Yarn alternatives: Cotton lace yarn
Gauge: 12 sts & 4 rows = 1” x 1” in double crochet
Notes:
- Read through the pattern before starting your work just to be sure you don’t have any questions that might cause frustration while working on the project.
- Gauge is included for your reference but achieving it is not crucial.
- This pattern is written in US terms. For a conversion into UK terms, get my free eBook with the conversion charts here.
- The pattern is worked in rows into the st as normal (unless otherwise stated).
- Stitch totals are shown in square [] brackets at the end of each round e.g. [18] means you should have a total of 18 stitches at the end of the round.
Instructions:
With lace yarn and 1.5 mm hook,
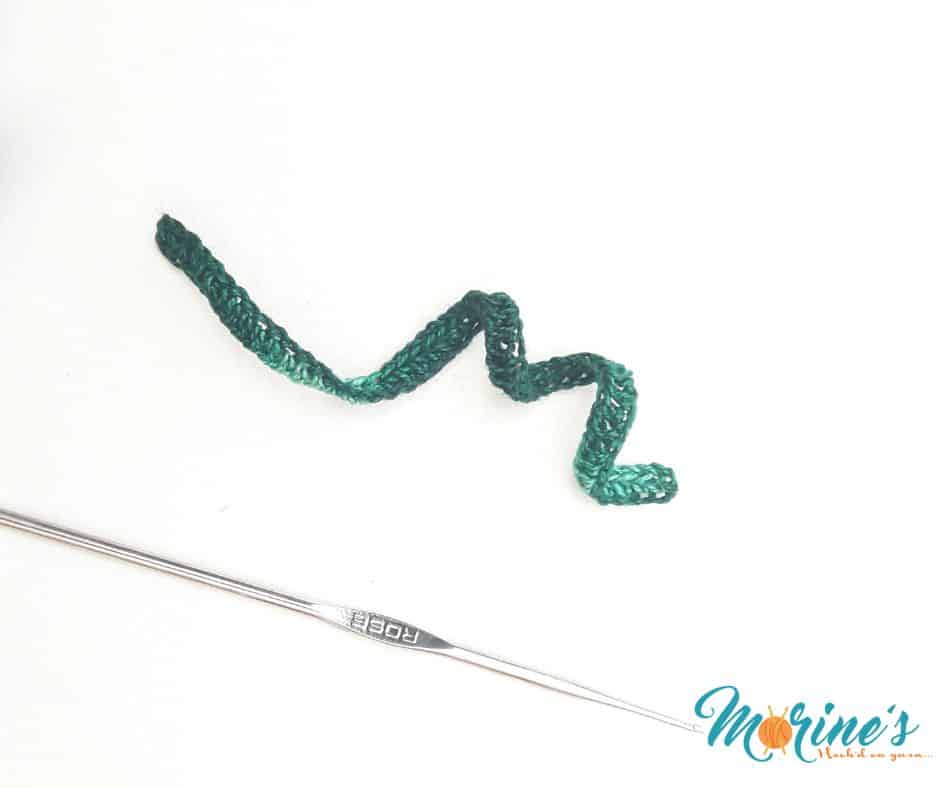
Row 1: Ch 59. Starting from the 3rd ch from your hook, hdc in each st across. [57]
Fasten off. Weave in ends.

Assembly:
From this point forward, ribbon refers to the hdc strip you just made above.
- Getting hold of the end of your ribbon, make a 1” fold.
- You will then continue making folds. Each time you fold over the ribbon, make it shorter as you go up, creating your tree shape. You should have 6 folds.
- Take your larger sewing needle and pierce it through your tree from the bottom up to hold the folds in place.

- Cut a piece of yarn approximately 6” long, fold it in half and tie a knot as close to the end as you can.

- Thread the smaller needle on the other end and insert a pearl bead.

- After the bead, thread on your ribbon twice, followed another pearl bead.

- For more pronounced beads at the end, insert your needle through the front and back loops.


- The remainder of the threading will be ribbon, ribbon, pearl, ribbon, ribbon.


- Thread 3 pearls at the base of the tree.

- Tie a knot to secure the beads and snip off the excess yarn leaving a small tail.
- Add your ear wires to the top of the tree.

And there you have it! quick and easy crochet Christmas Tree Earrings. These would also make just wonderful gifts!

I’d love to see you process and finished product so please tag me @morines_shop on Instagram or share your projects on Ravelry.
If you have any questions about this pattern, please get in touch here or leave a comment below.


Pingback: Beautiful Colorful Crochet Earrings - Pattern Center
Pingback: One More Row - Free Crochet Link Party #49 Loops & Love Crochet